Getting Started
All you need to know to get started with SpreaView
Getting Started with SpreaView
Welcome to SpreaView, your platform for organizing, collecting, and analyzing speaker evaluations at conferences. This guide will help you get up and running quickly.
Step 1: Register an Account
To use SpreaView, you need to create a user account. Registration ensures that your data is secure and that you can manage your conferences and evaluations over time.
- Visit SpreaView registration page and complete the sign-up process.
- After registering, you can log in and begin setting up your environment.
Note: All features in SpreaView are available only to registered users.
Step 2: Create an Organization
Before you can set up a conference, you must first create an organization. An organization represents the overarching entity (e.g., your company, user group, or event team) under which conferences are managed.
Why Organizations?
- Organizations serve as a container for one or more conferences.
- Multiple users can be added to an organization, enabling team collaboration on conference setup and review analysis.
- User permissions and access are scoped at the organization level.
How to Create an Organization
- After logging in, navigate to the Organizations section.
- Click Create New Organization.
- Provide a name and optional description for your organization.
- Save your changes.
Once your organization is created, you’re ready to start adding conferences.
Step 3: Create a Conference
With your organization in place, you can now create your first conference. Each conference is where speaker evaluations will be configured and collected.
Steps:
- Open the Conferences section within your organization dashboard.
- Click Create Conference.
- Fill in the conference name, dates, and other relevant details.
- Save the conference and begin adding sessions for evaluation setup.
You’re now ready to start configuring speaker evaluations and collecting valuable feedback from attendees.
Need more help? Check out the next section: Setting Up Sessions and Evaluations
1 - Registration
Create an account and log in to SpreaView
Welcome to SpreaView! Follow this guide to set up your account and start utilizing SpreaView’s powerful features for evaluating and improving conference presentations.
Step 1: Creating a Free Account
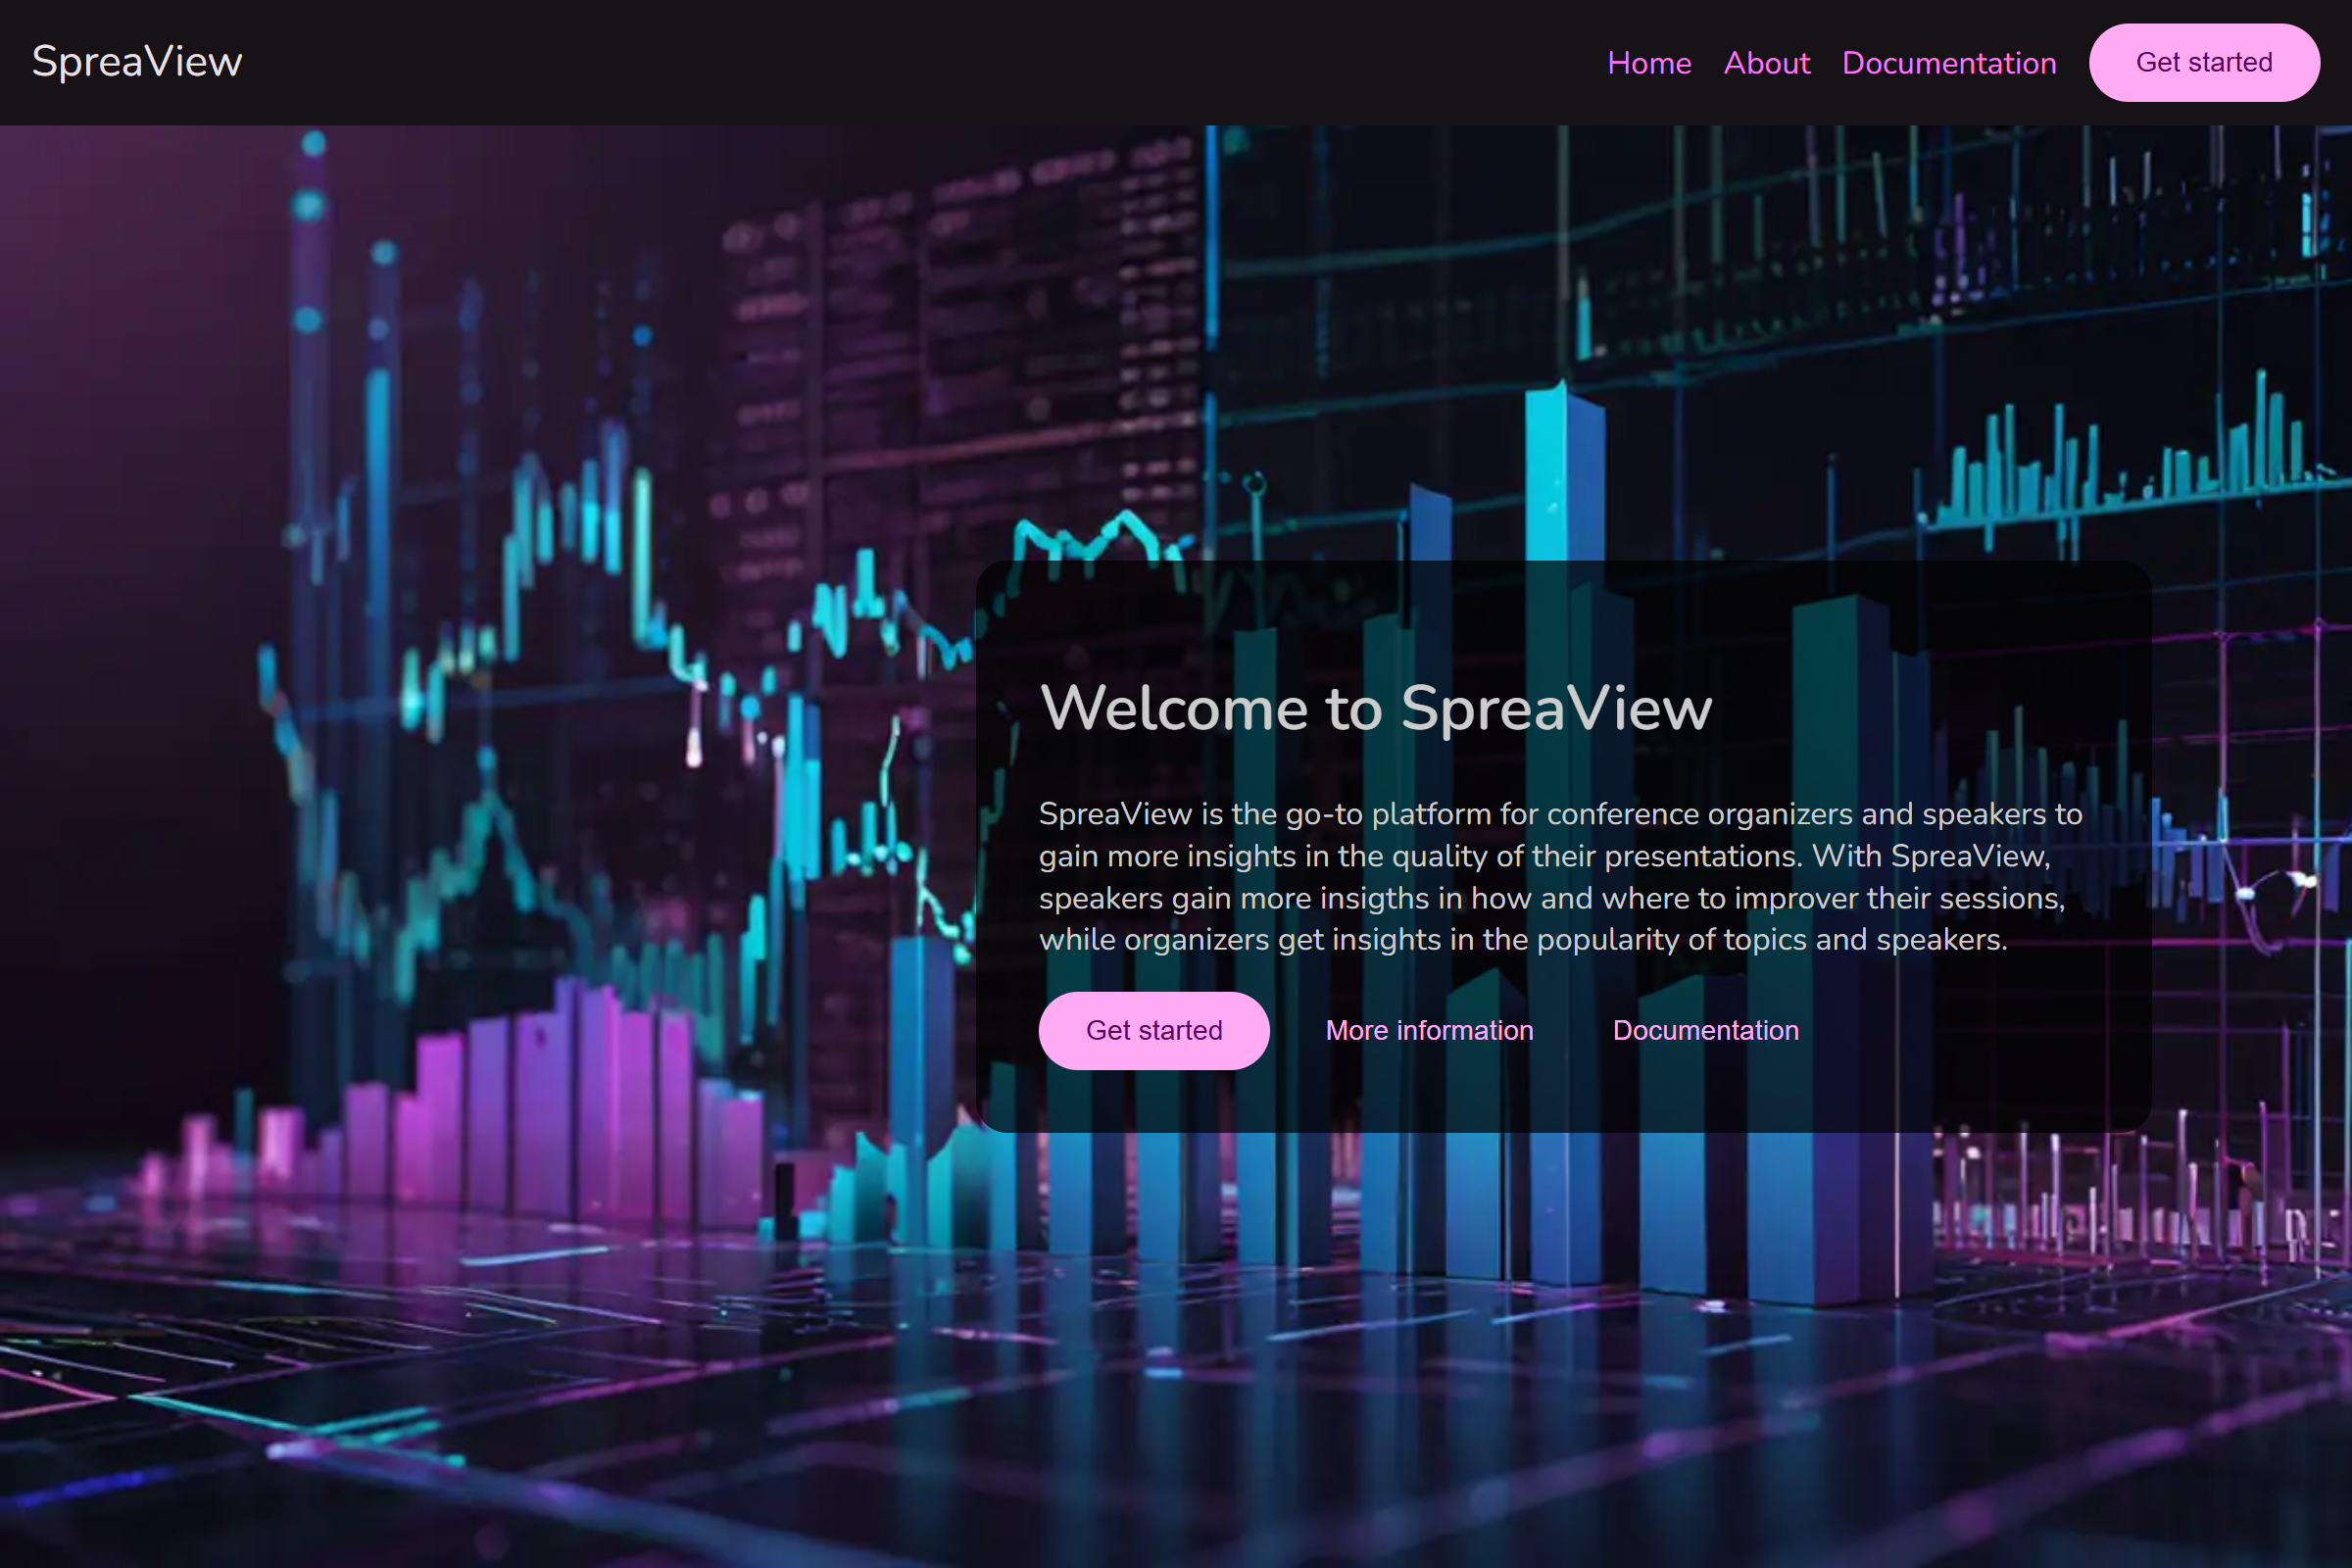
- Visit the Welcome Page
- Navigate to the SpreaView homepage.
- Click the Get Started button to begin the registration process.
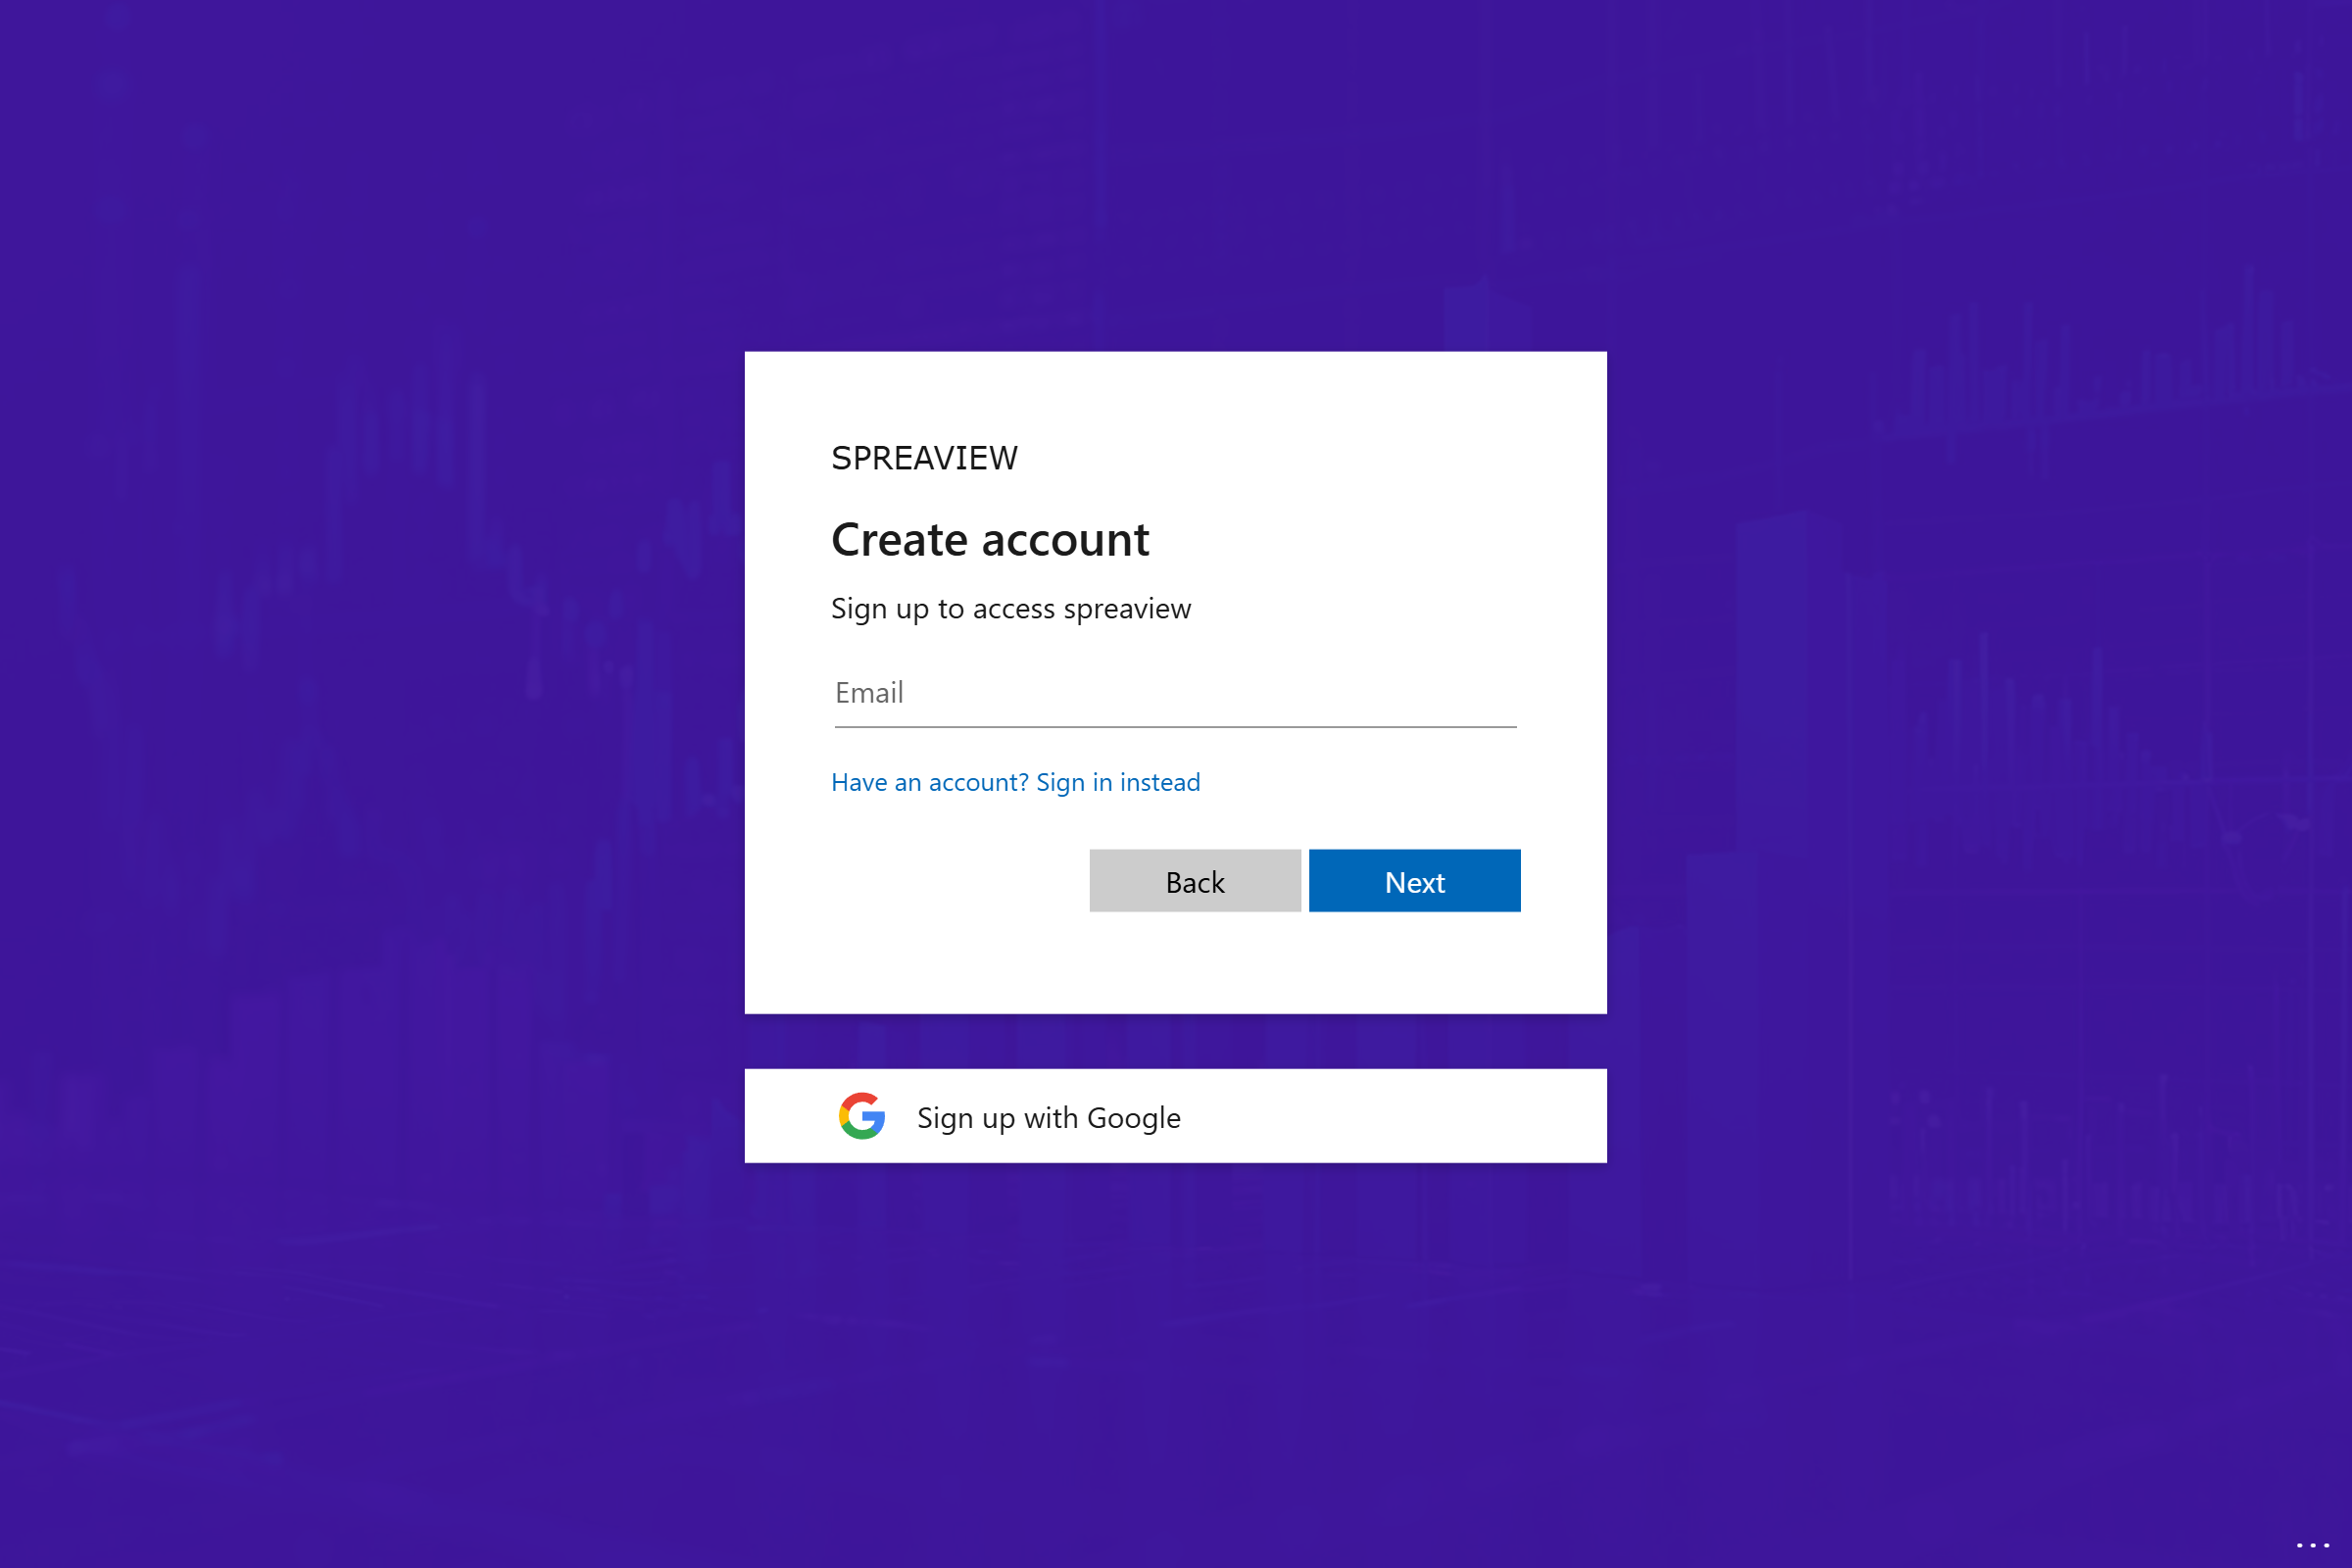
Access the Log-In Page
- You will be redirected to the log-in page.
- Click on the link for No Account? Create one to create a new account.
Email Confirmation
- Enter your email address and follow the confirmation steps sent to your inbox.
- After confirming your email, set a secure password to complete this part of the registration.
Step 2: Creating Your SpreaView Account
Log In to SpreaView
- Return to the SpreaView log-in page and sign in with your newly created credentials.
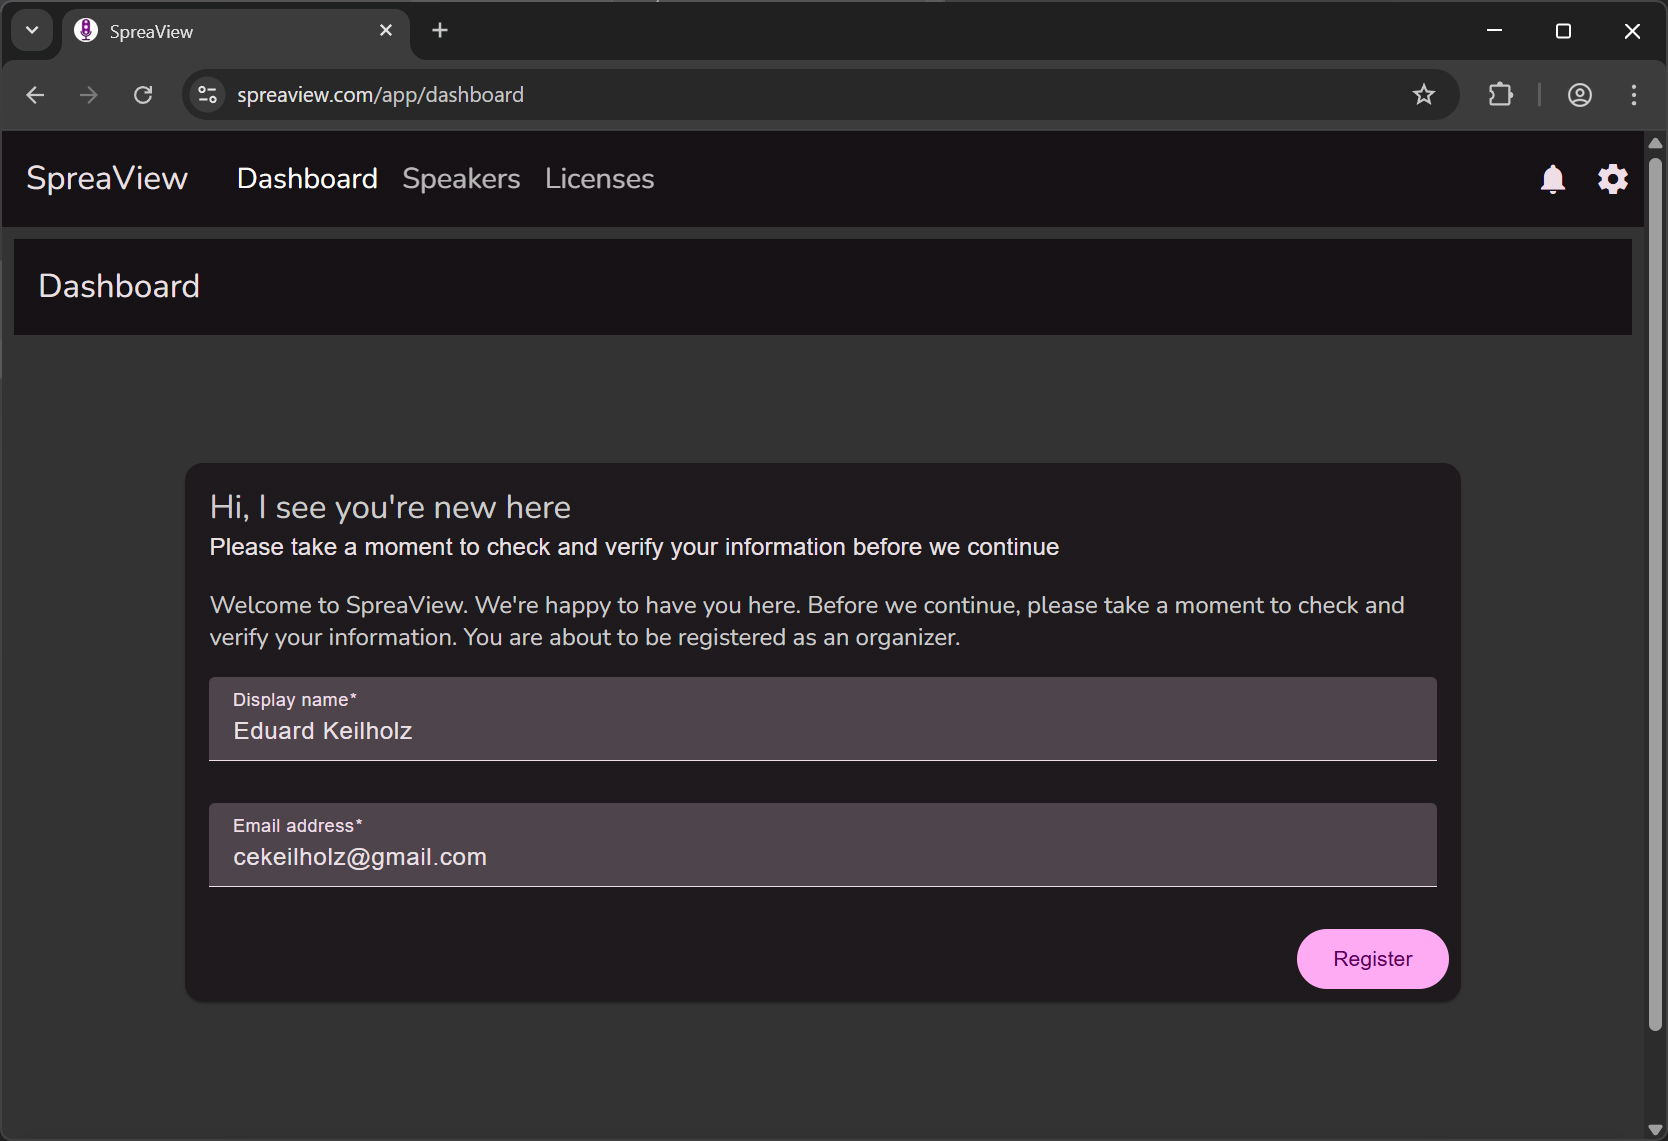
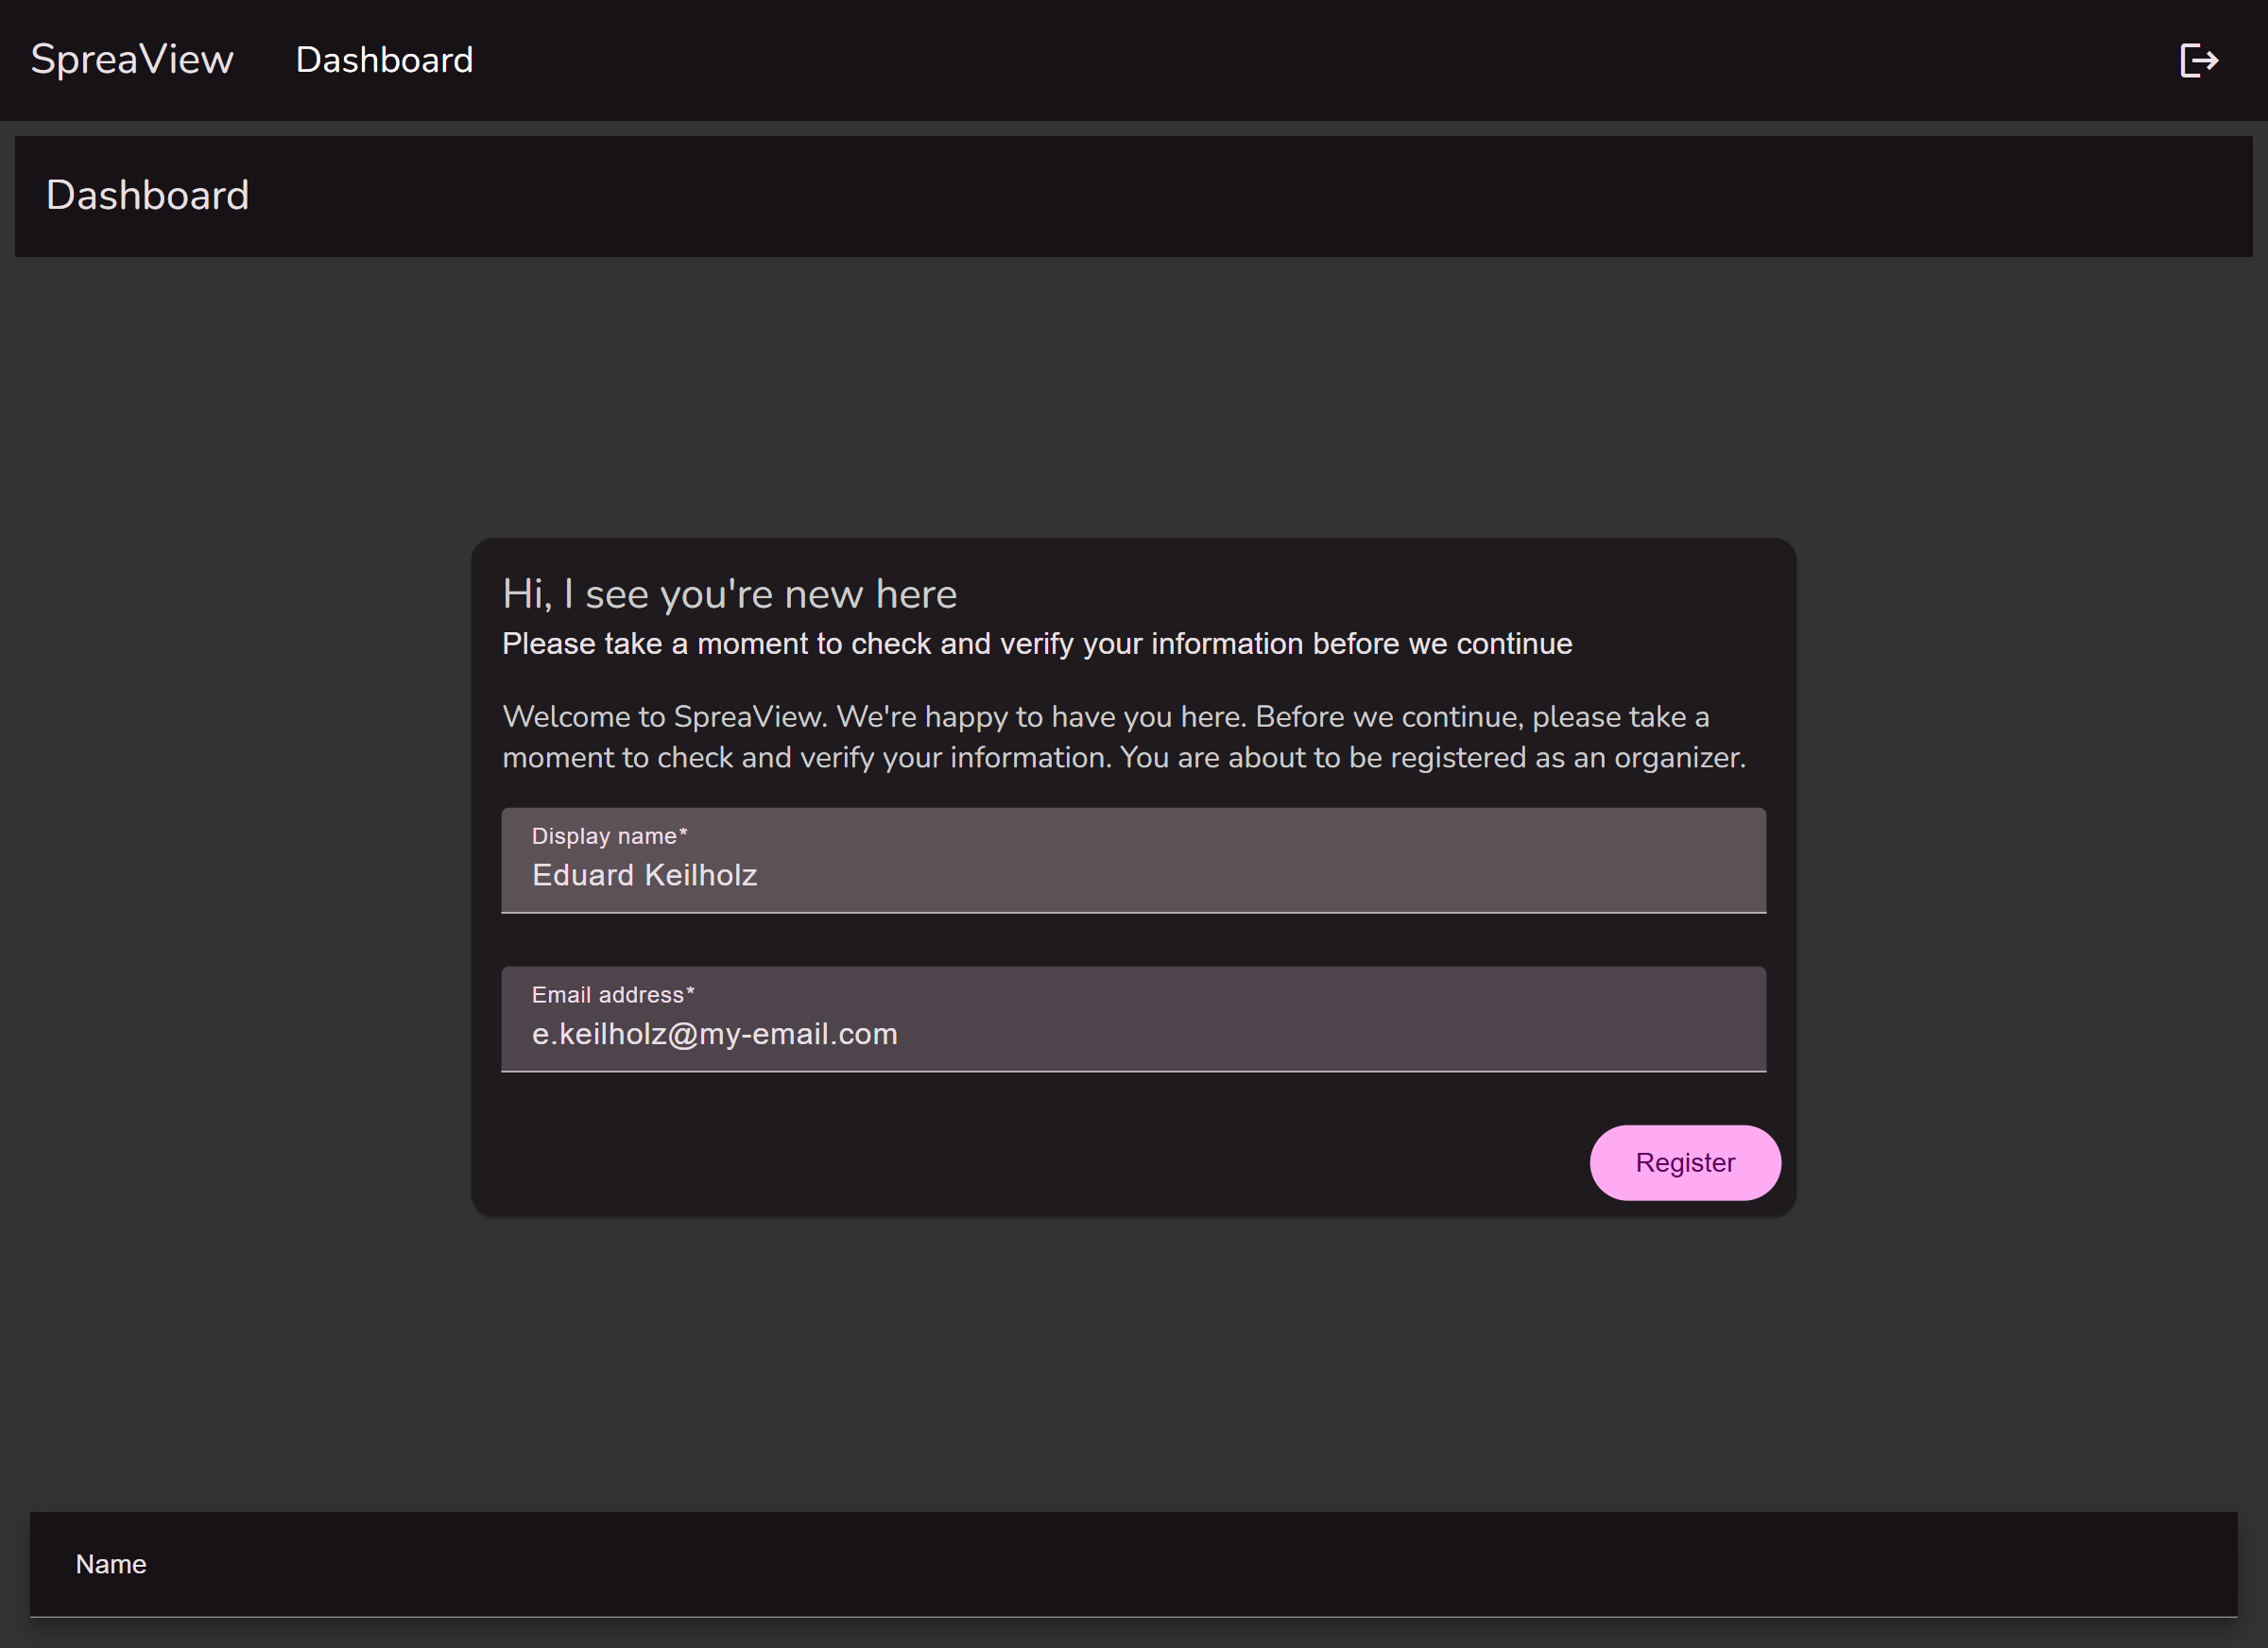
Provide Your Details
- Upon first login, you will be prompted to create your SpreaView account.
- Your name will be pre-filled based on your registration information, but you can update it if necessary.
- Enter an email address for communication purposes.
Complete Registration
- Review your details and submit to complete your SpreaView account setup.
Step 3: Accessing the Dashboard
Navigate to Your Dashboard
- After completing the account setup, you will be redirected to the SpreaView dashboard.
- The dashboard serves as your hub for managing events, reviews, and reports.
Create or Join an Organization
- On the dashboard, you can either create a new organization or join an existing one.
- Follow the on-screen instructions to complete this step.
Congratulations! You are now ready to use SpreaView to set up speaker evaluations, analyze presentation data, and provide valuable feedback to your speakers.
2 - Organizations
Join an organization to get started
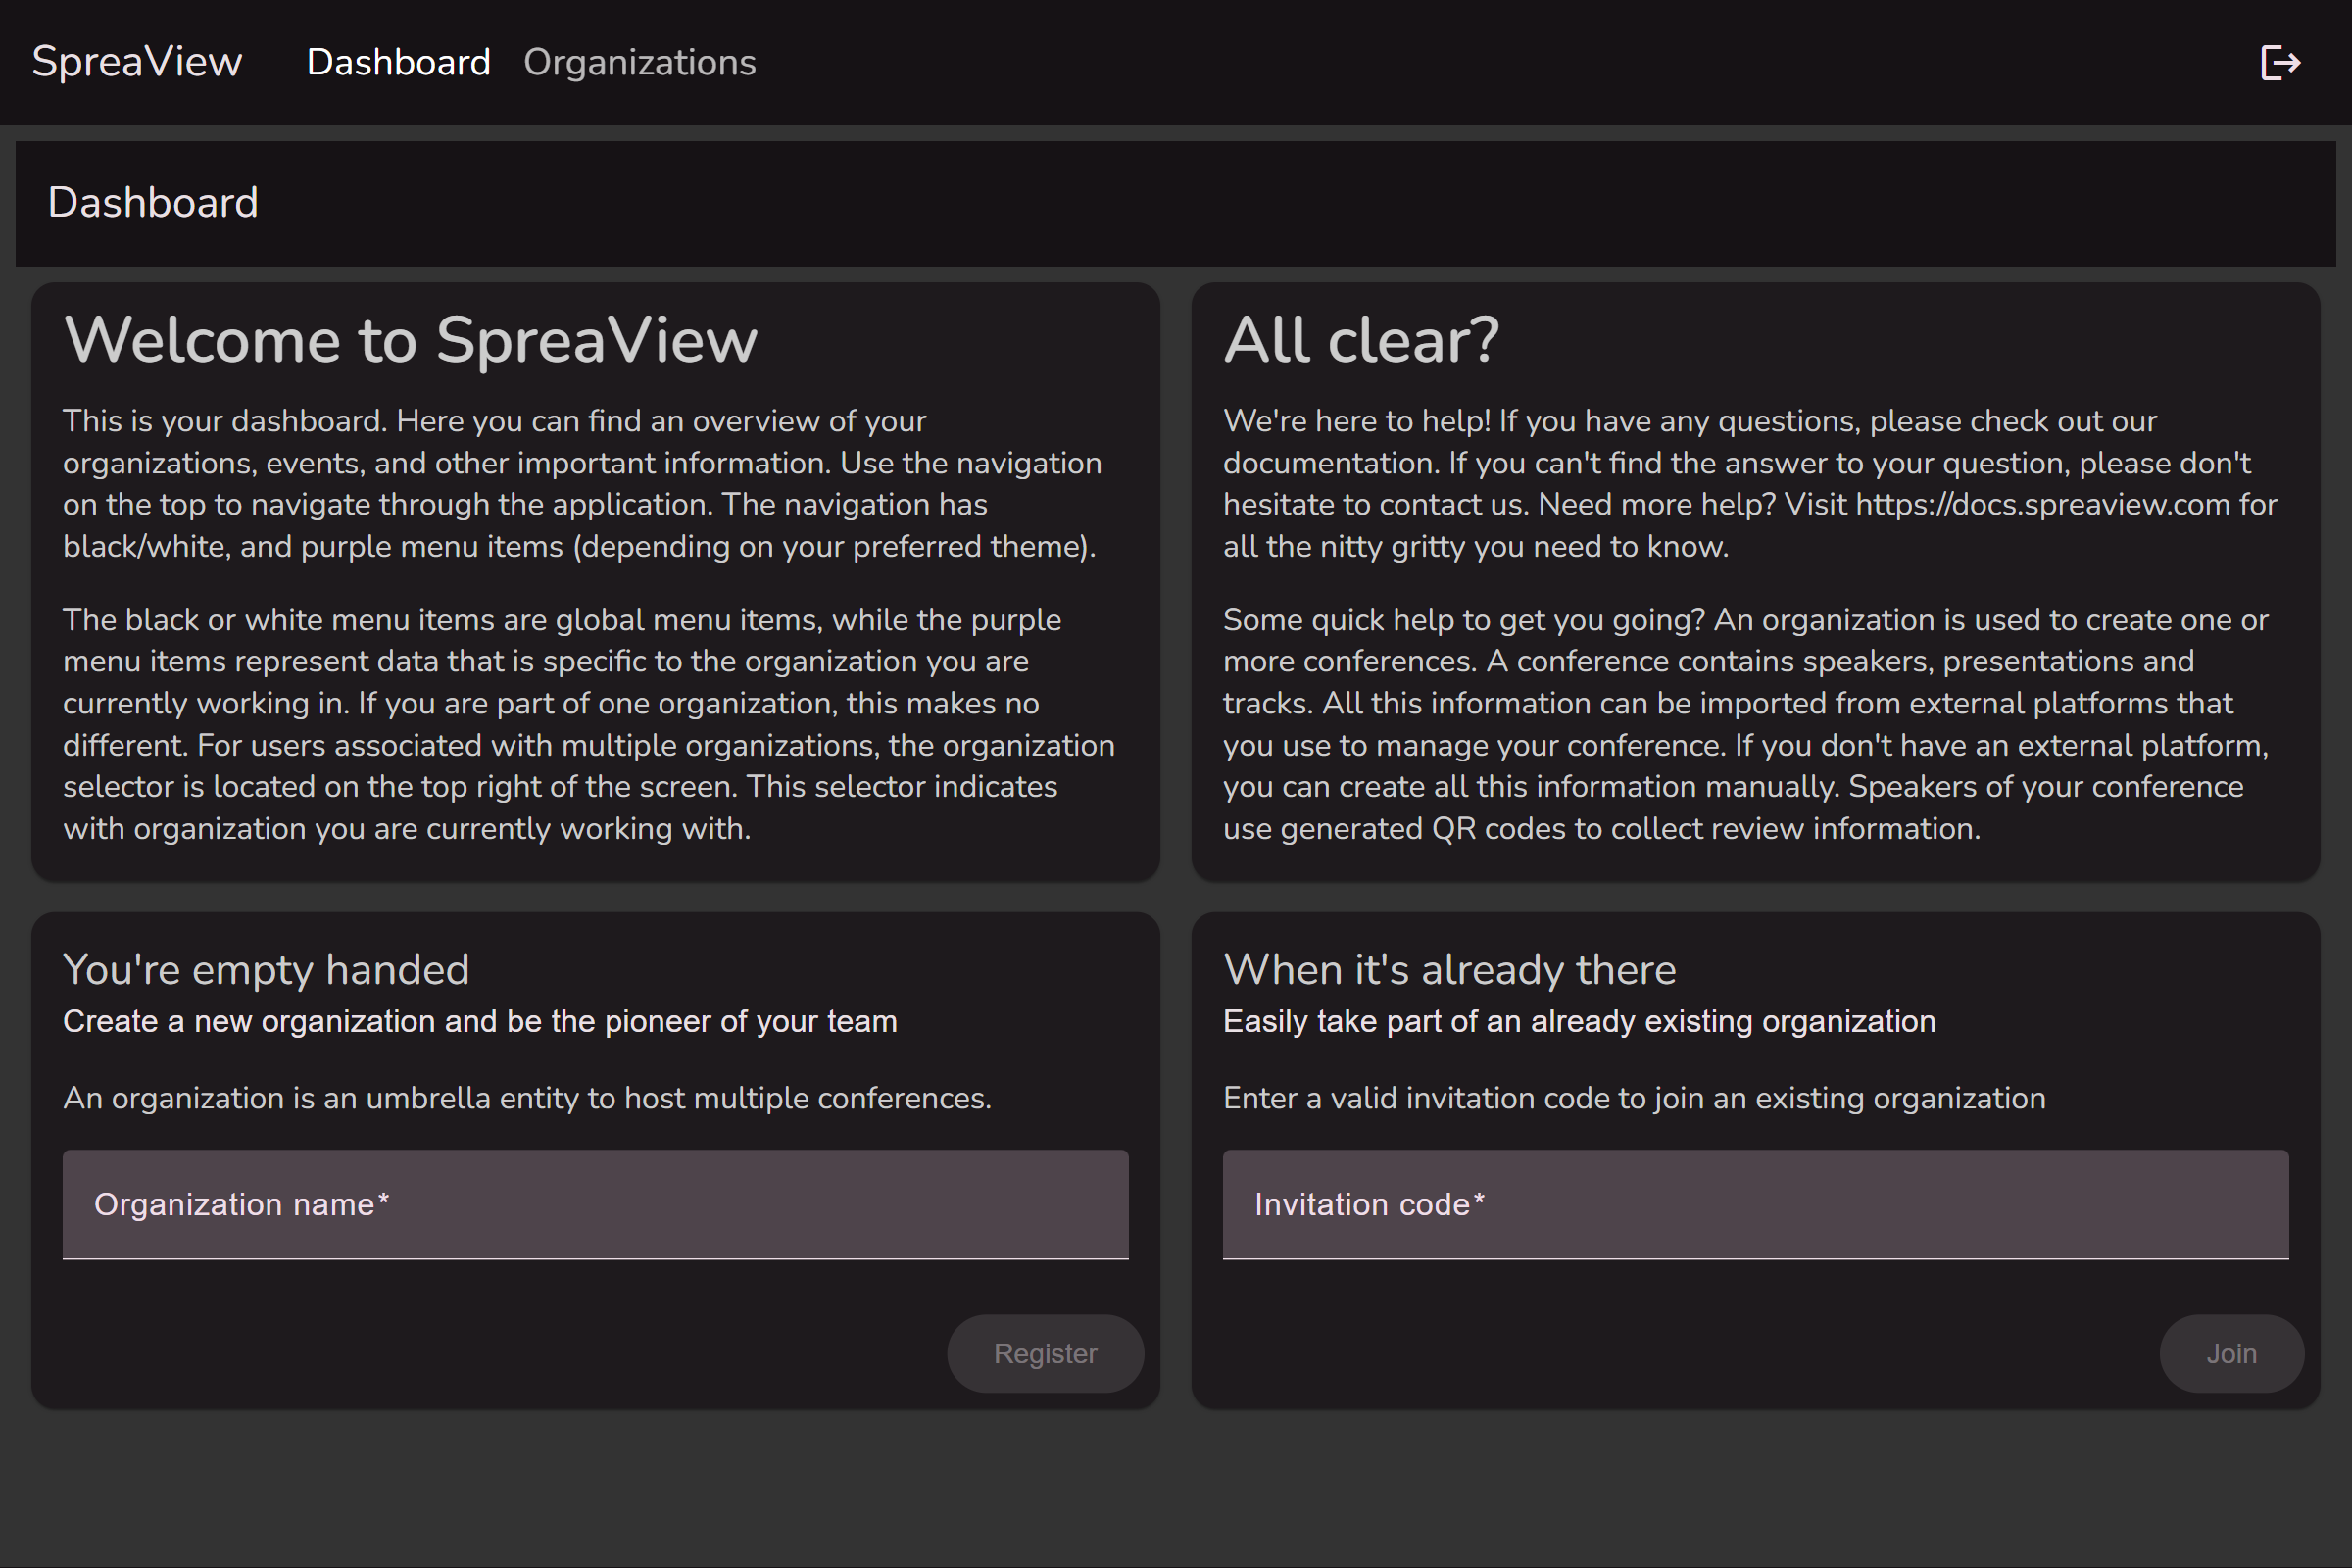
Once you are registred as an Organizer, you need an Organization to work with. If you received an invitation, you can use the invitation code to join an existing Organization. Alternatively, you can create your own organization.
To create an organization, navigate to the ‘Organizations’ tab in the main menu. Click on the ‘Create an Organization’ button to create a new Organization.
Note that this button may appear as a ‘+’ on screens with a smaller resolution.
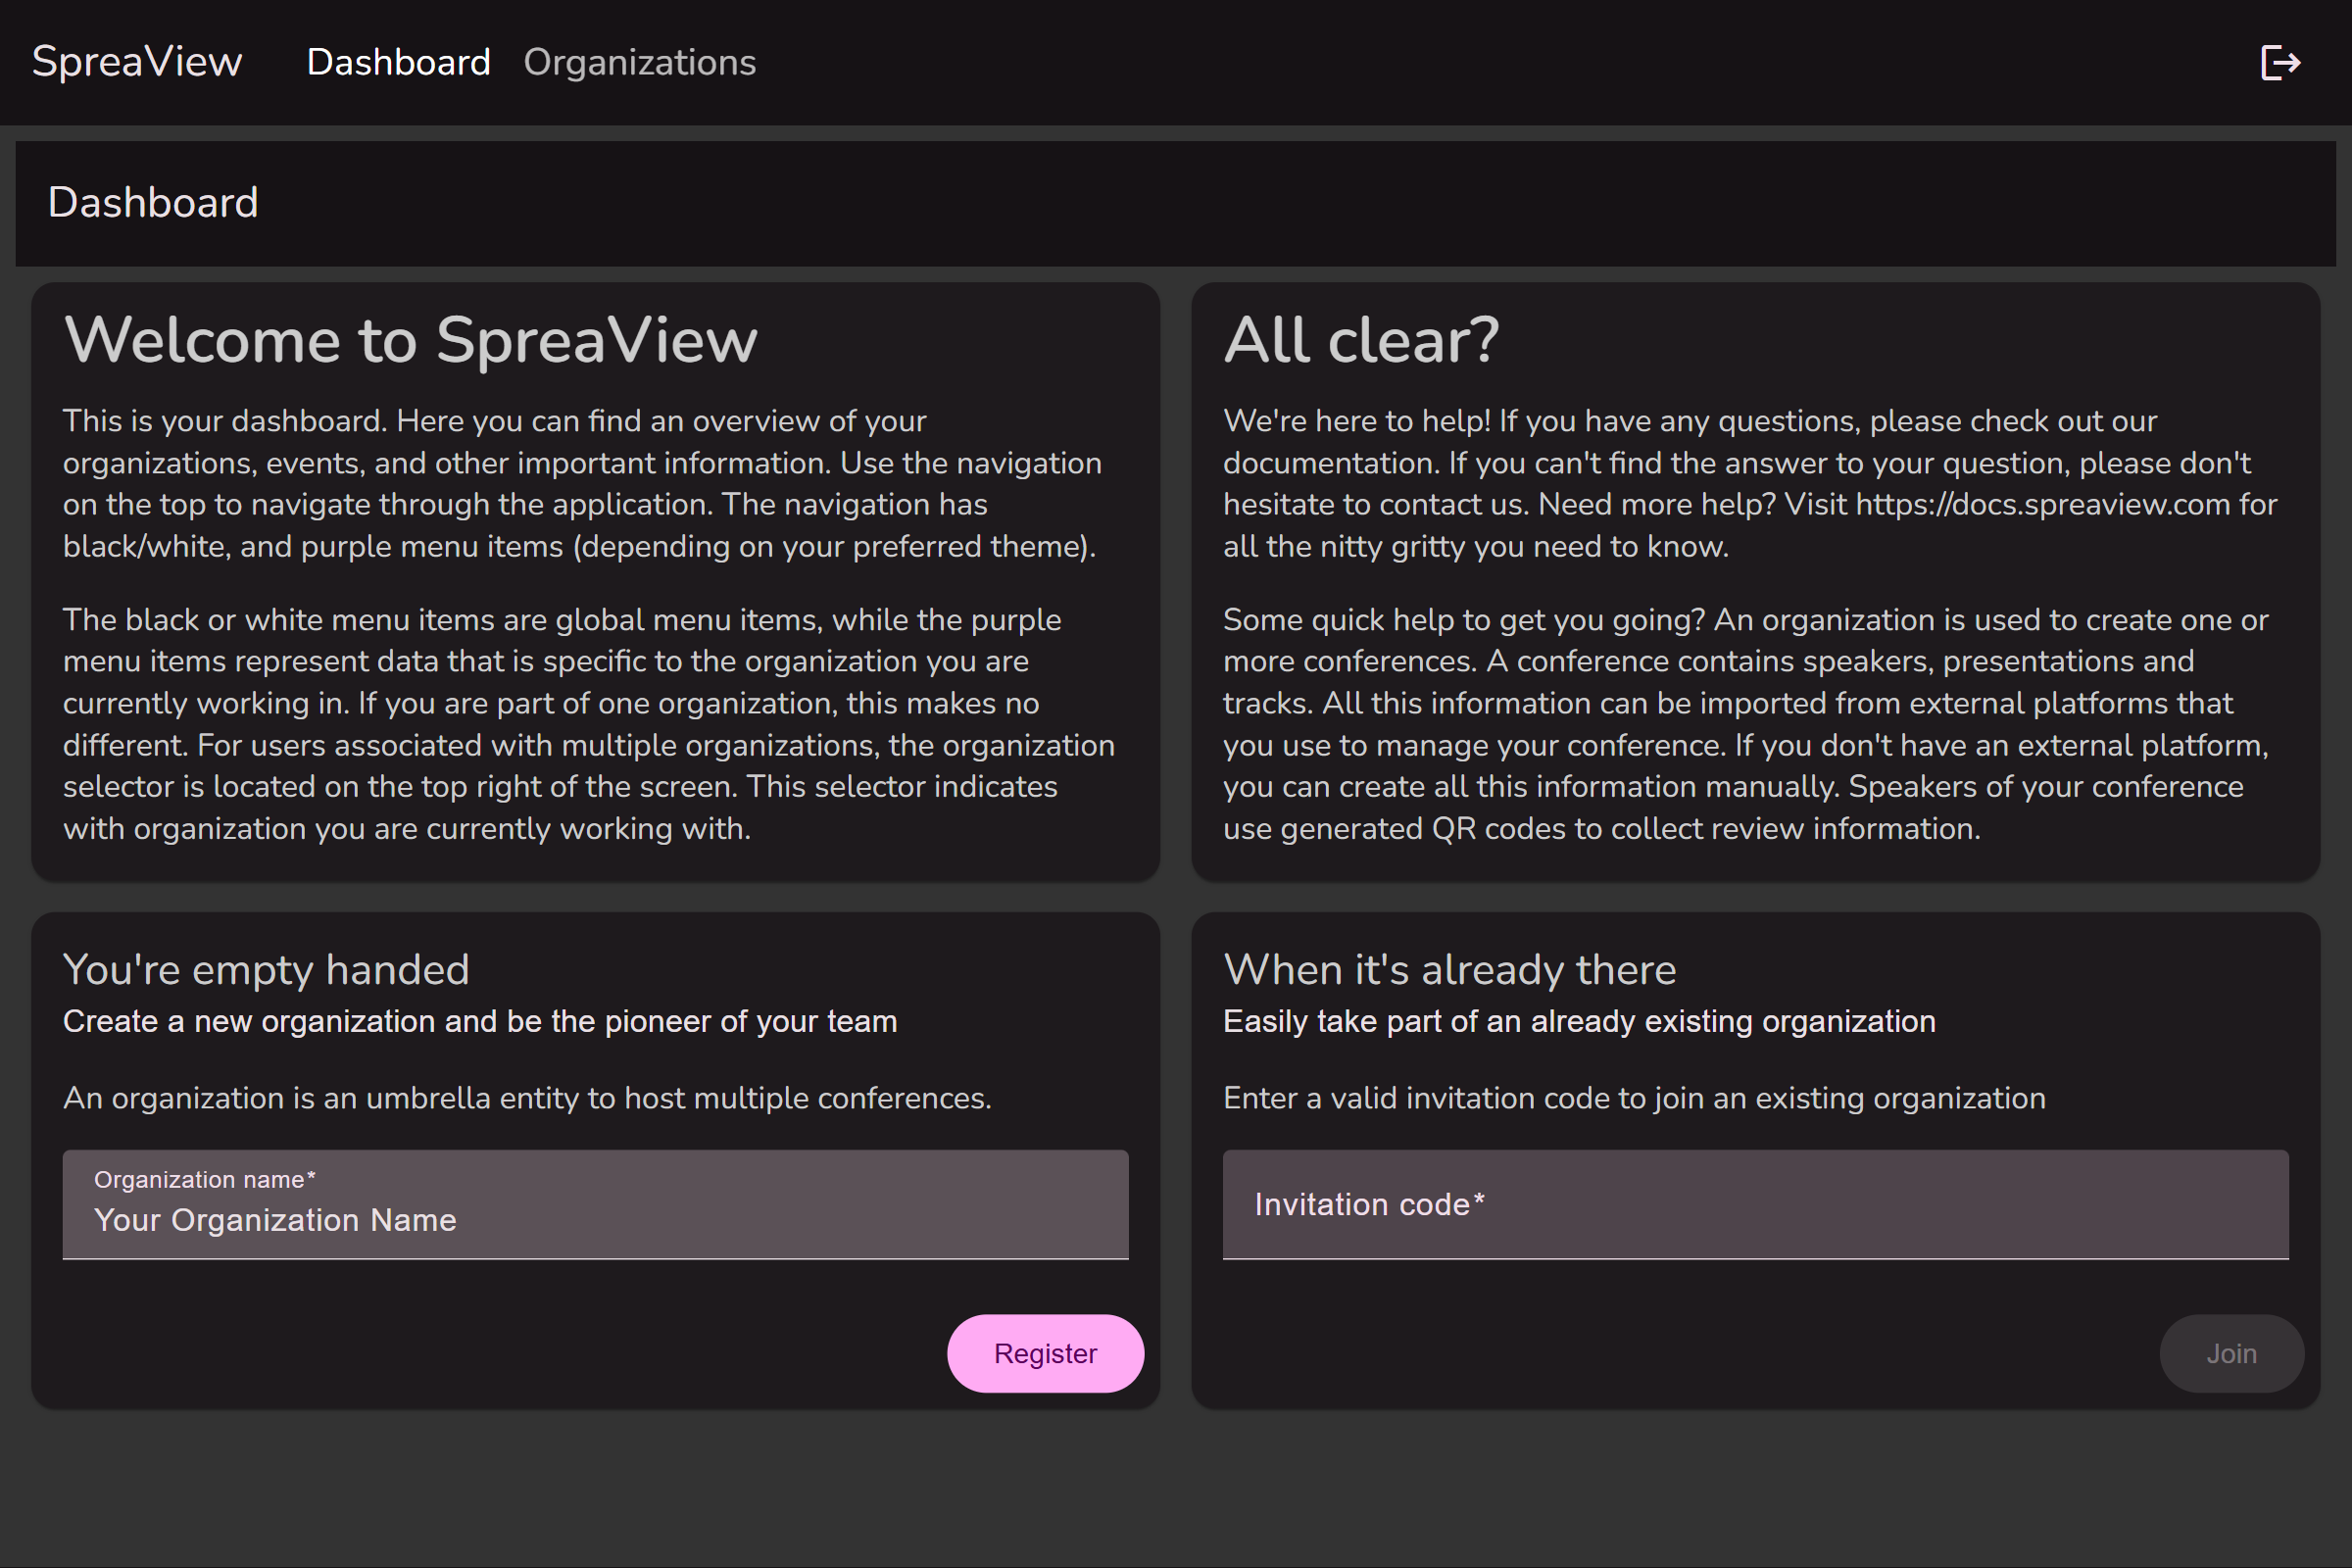
When you are not a member of an organization, you can create a new organization directly from the dashboard
Once saved, the new organization will appear in the list of organizations.
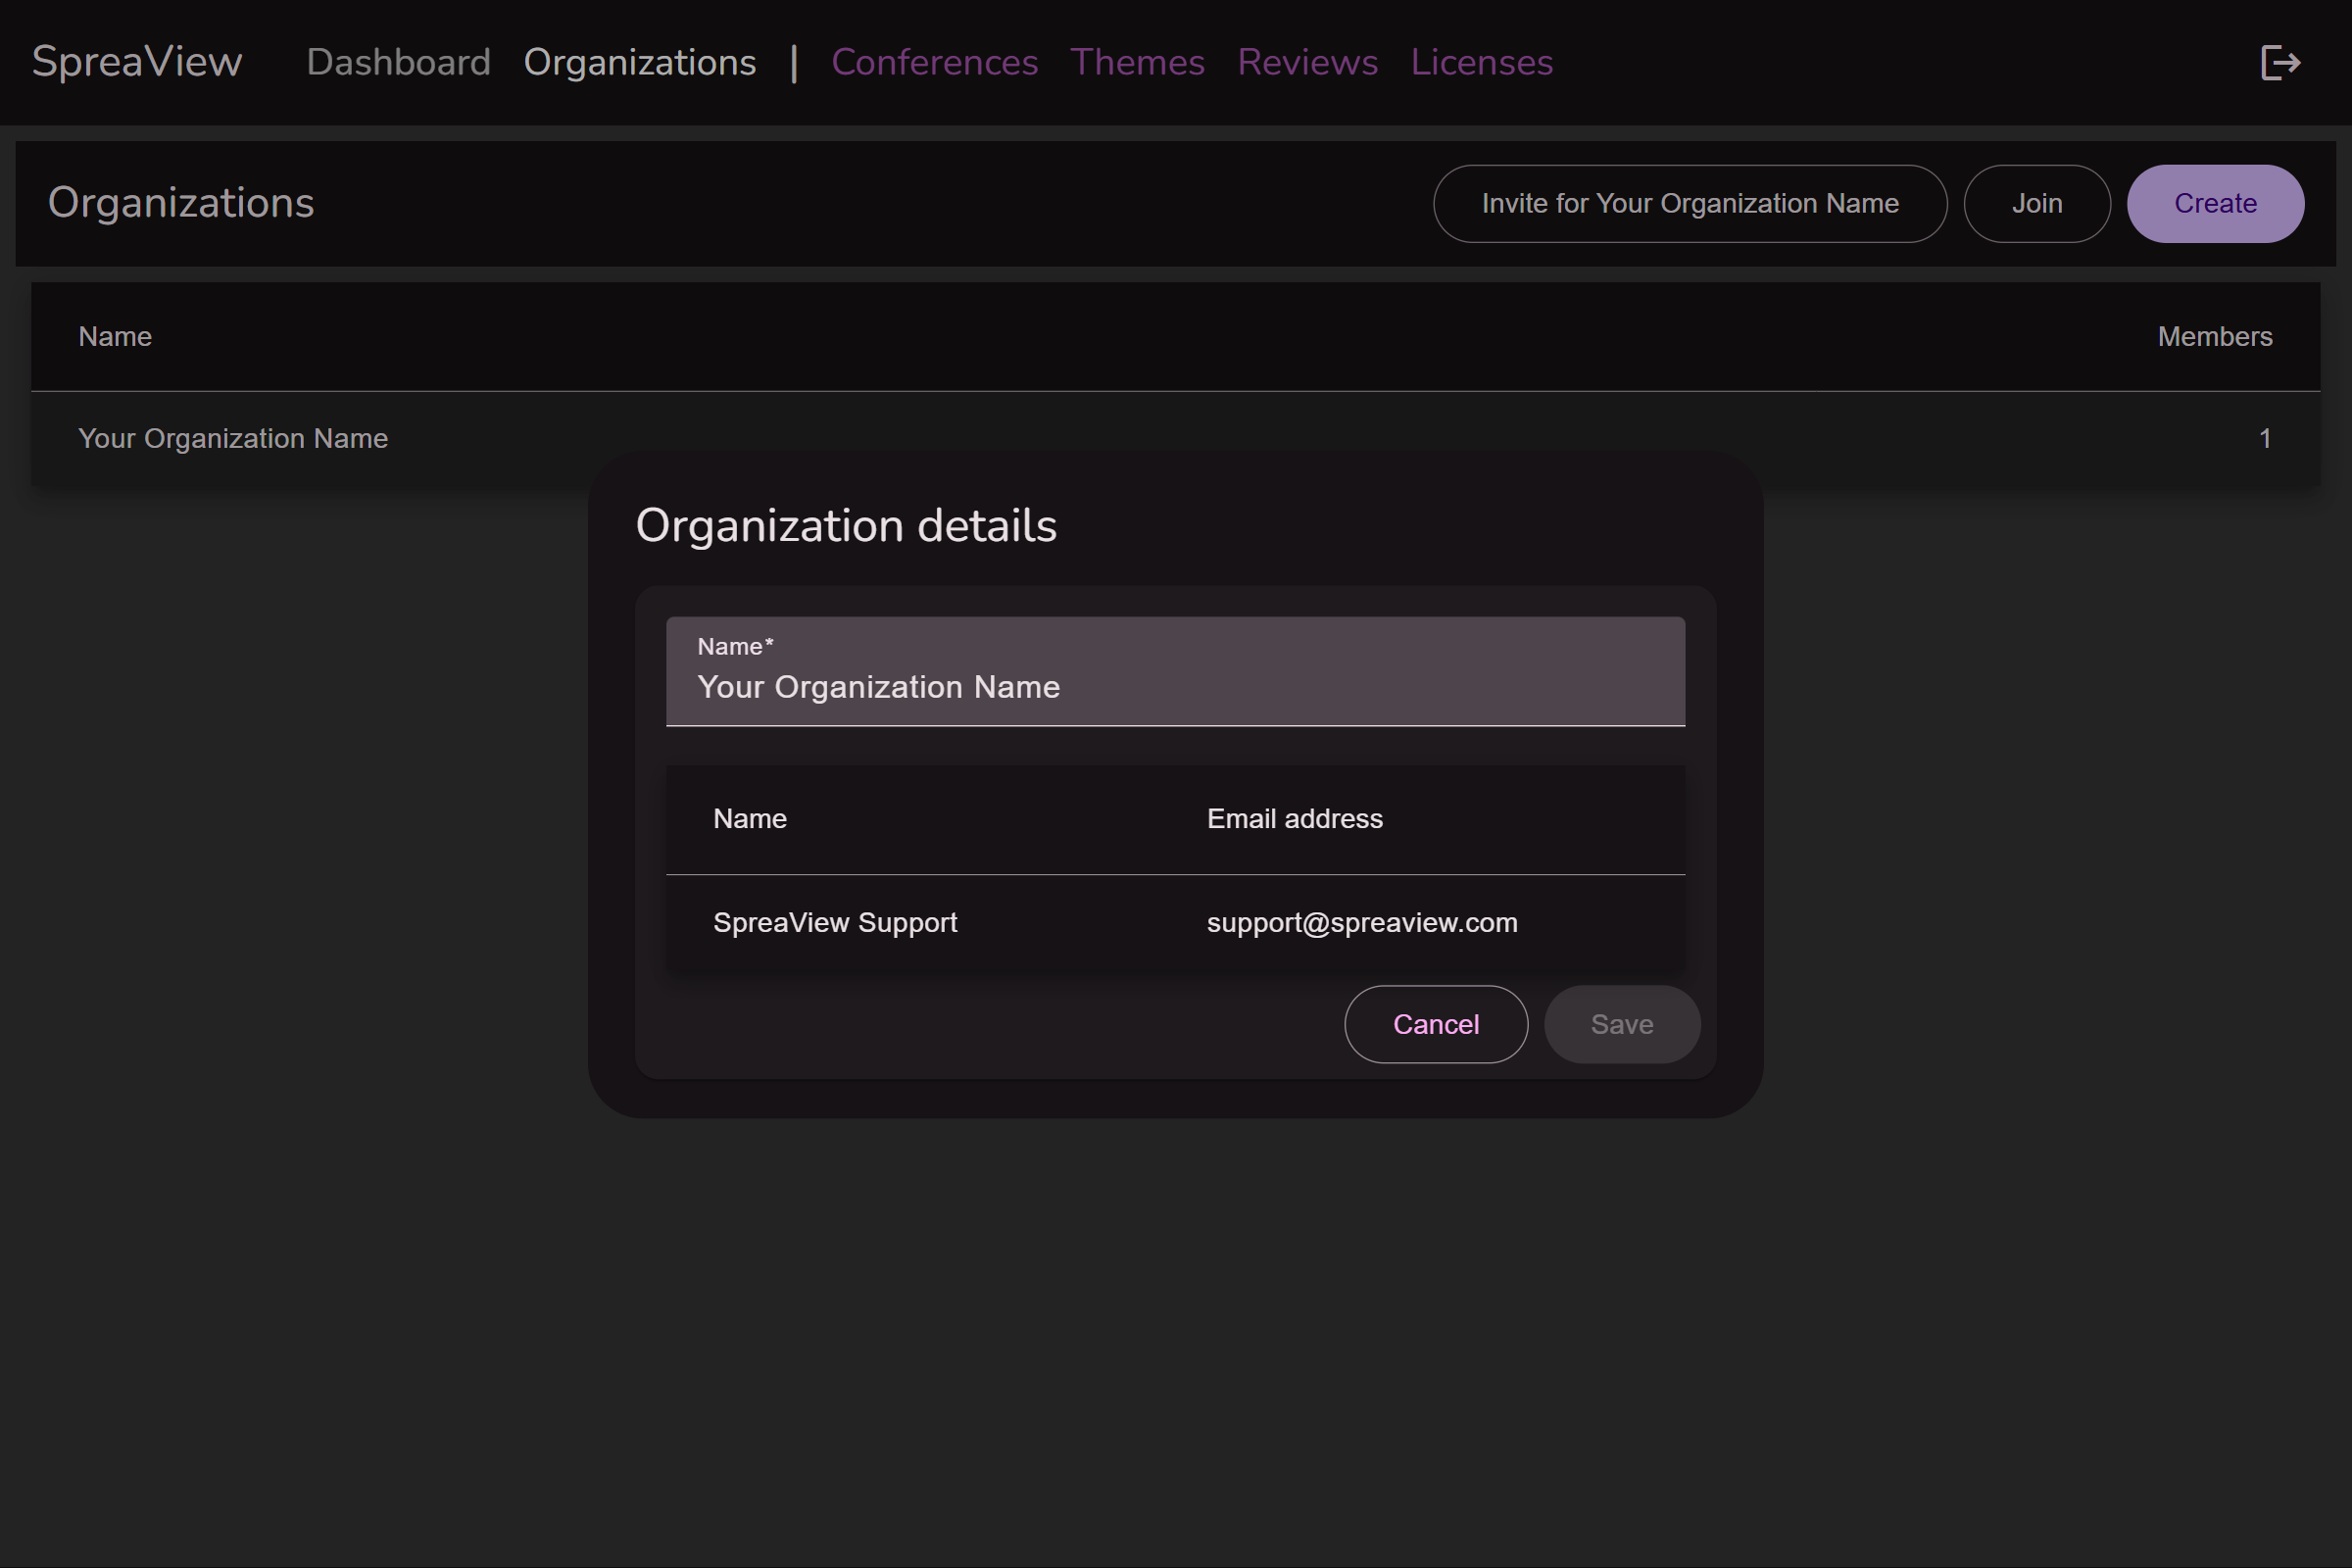
Organization details
If you click on the name of one of your organizations, you will open its details. Here, you can change the name of the organization, but also invite others to join your organization.
Working Under an Organizational Context
In our software system, it is mandatory for all users, specifically organizers, to operate within the context of an organization. This ensures that all actions, events, and tasks are correctly associated with the appropriate organizational entity.
Single Organization Membership
If you are an organizer who belongs to only one organization, the system automatically sets you to work under the context of that organization. You will not need to manually select an organization, and all your activities will be associated with this default organization.
Multiple Organization Memberships
For organizers who are members of multiple organizations, a drop-down menu will appear in the upper right corner of your interface. This drop-down allows you to select which organization you are currently working under. The selected organization becomes the “active” organization, and all your actions will be linked to this chosen context.
How to Select an Organization:
- Locate the drop-down box in the upper right corner of your screen.
- Click on the drop-down box to view a list of all organizations you are a member of.
- Select the organization you wish to work under.
- The interface will update to reflect your choice, and you can now proceed with your tasks within the context of the selected organization.

Important: Always ensure you have the correct organization selected before performing any actions, as all tasks, events, and data entries will be tied to the active organization.
Working Under an Organization in SpreaView
SpreaView provides a collaborative environment for managing conferences by allowing users to work within the context of an organization. This document explains how organizations work in SpreaView and the collaborative features available.
What is an Organization in SpreaView?
An organization in SpreaView represents a group of people working together on conferences. By joining an organization, users can share access to all conference-related information and tools, enabling seamless collaboration.
Inviting Other Organizers
Accessing the Organization Settings
- Navigate to your organization’s dashboard.
- Locate the Invite Members option in the organization settings menu.
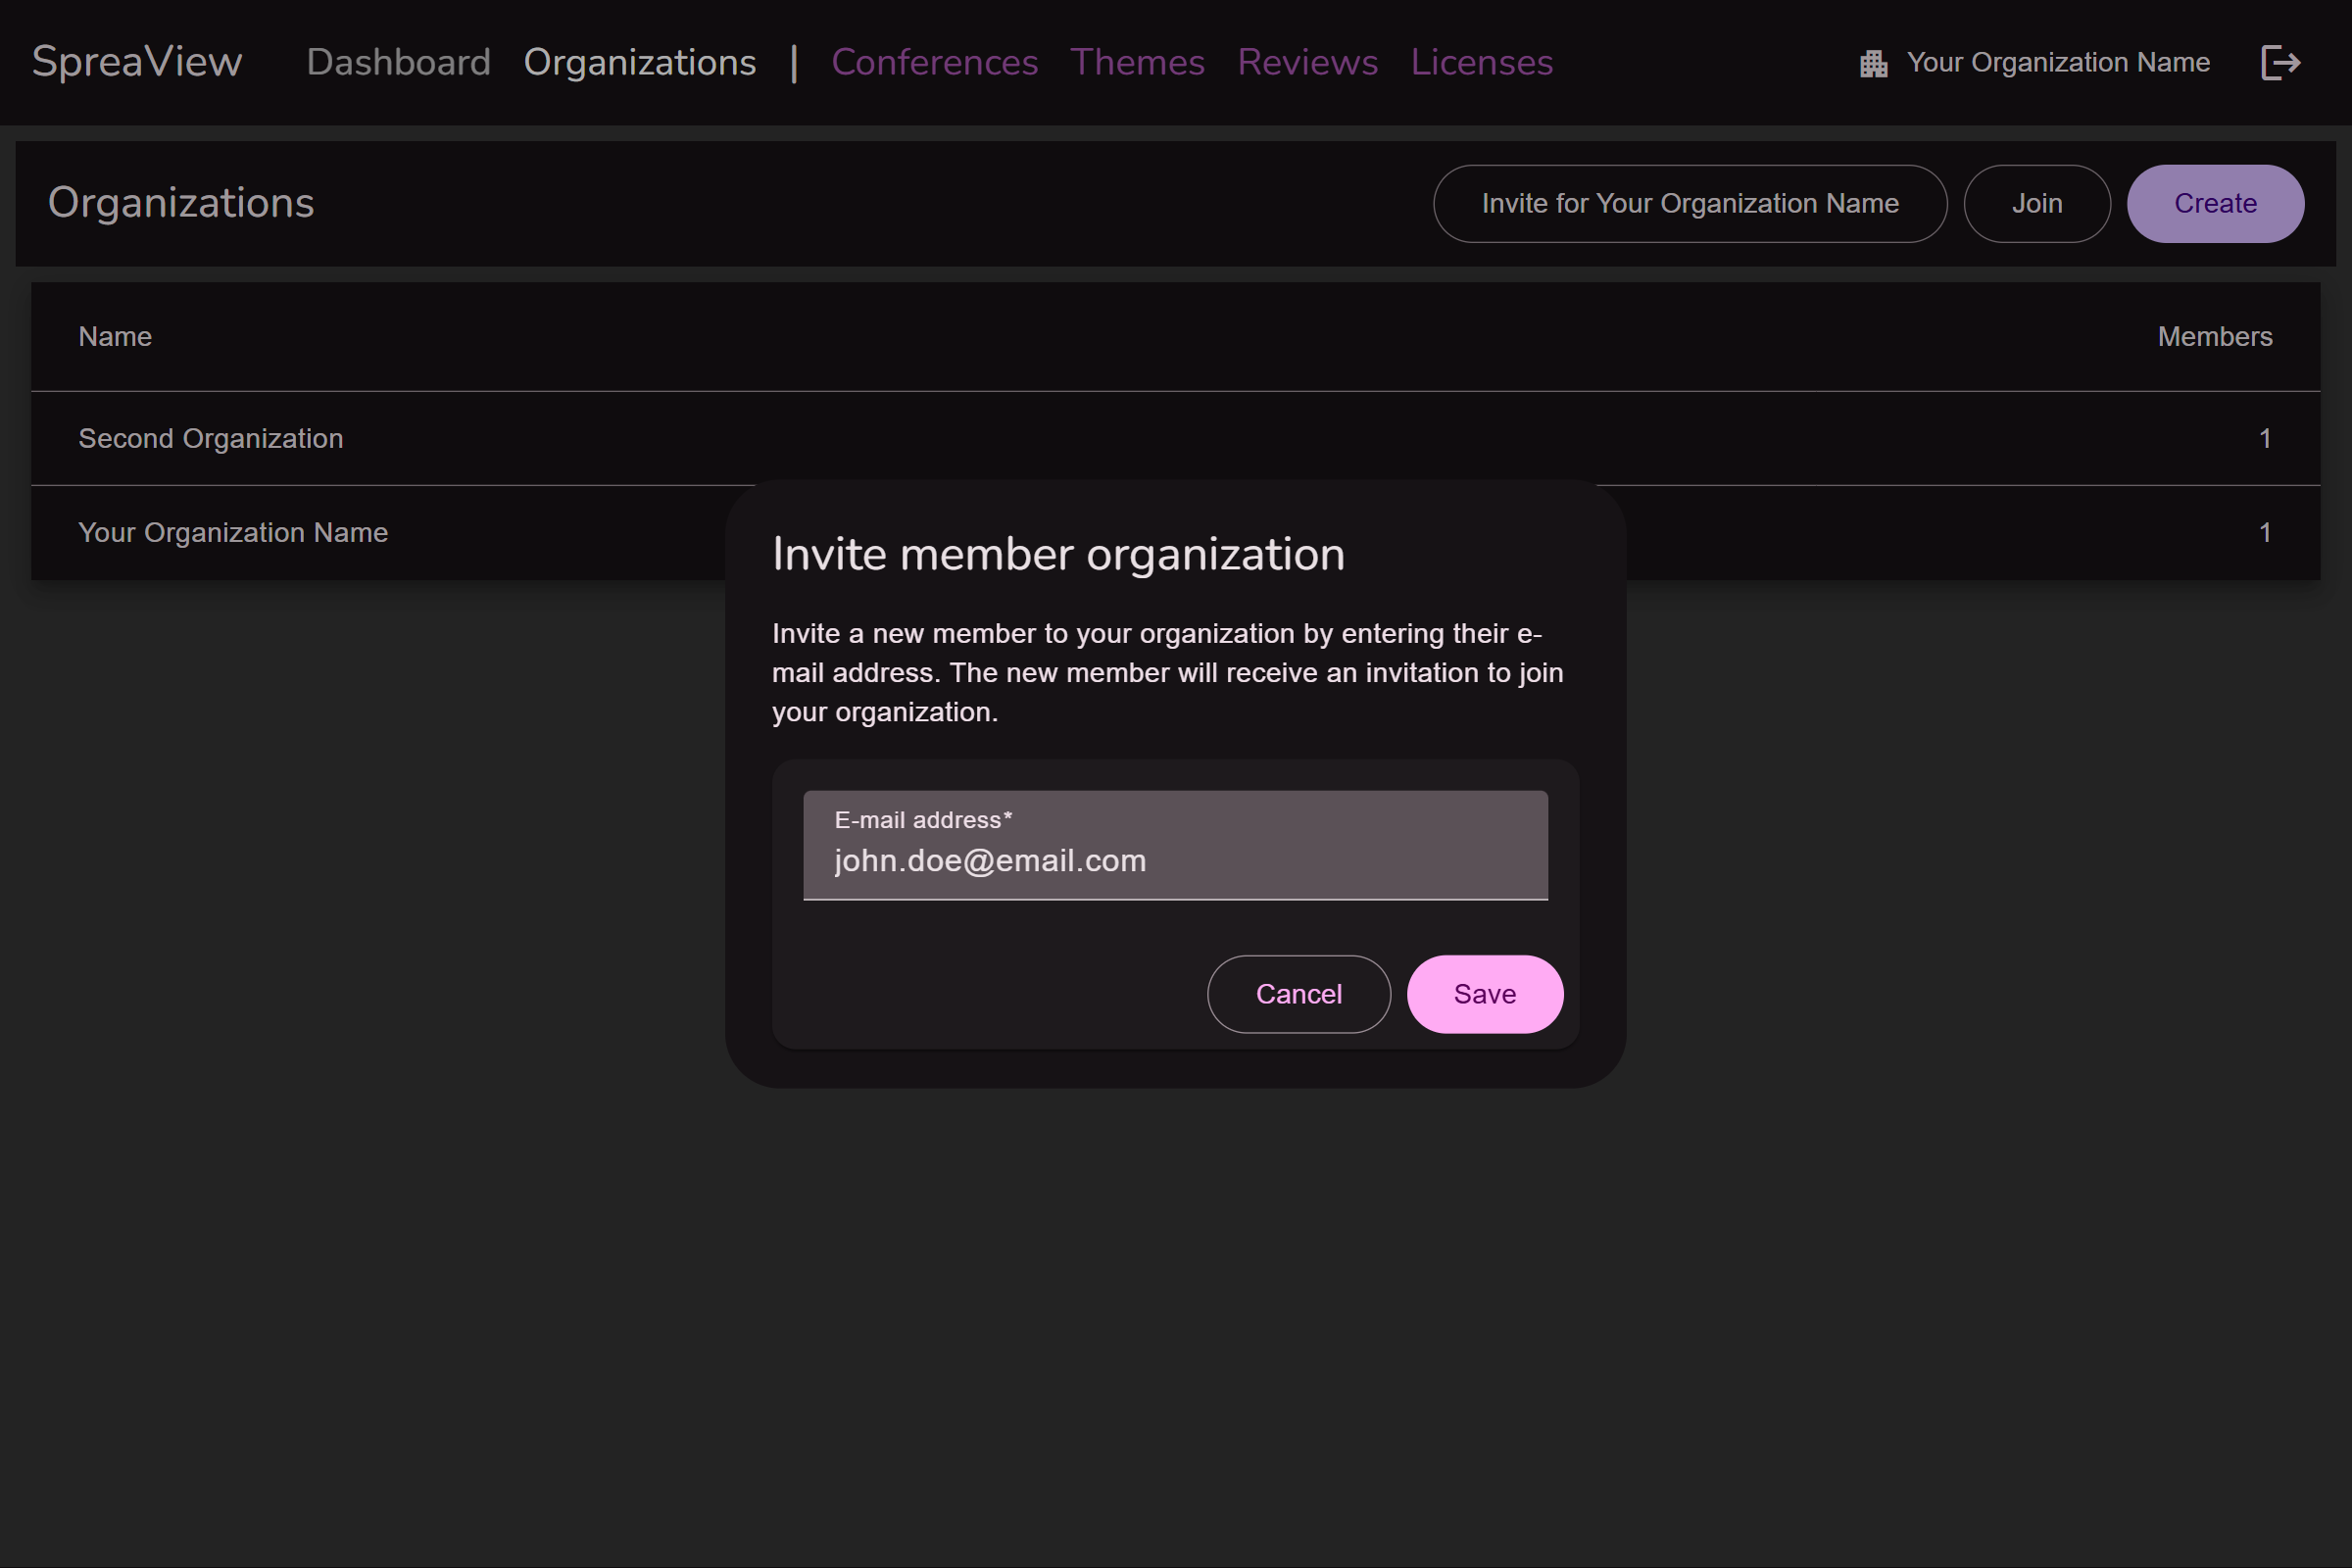
Sending Invitations
- Enter the email address of the person you wish to invite.
- Click Send Invitation. The recipient will receive an email with instructions on how to join the organization.
Joining the Organization
- The invited user can accept the invitation by entering the invitation code in the email.
- Once accepted, they will be added as a member of the organization and gain full access to its conferences and tools.
Collaboration Within an Organization
SpreaView simplifies collaboration by providing equal access to all members of an organization. This means:
- Shared Access: All members can view and edit the same conference data, reports, and evaluations.
- Real-Time Collaboration: Changes made by one member are immediately visible to others.
Important Note: No Roles or Permissions System
SpreaView operates without a roles or permissions system. All members of an organization have equal rights and access, including the ability to:
- Edit conference details.
- Modify attendee feedback settings.
- Generate and view reports.
This design ensures simplicity and fosters trust among team members but requires careful collaboration and communication to avoid conflicts.
Conclusion
Working under an organization in SpreaView allows multiple users to collaborate effectively on conferences. While the lack of a roles or permissions system simplifies management, it also emphasizes the importance of teamwork and transparency. Invite your team members today and start working together effortlessly!
3 - Conferences
Running a conference, now we’re talking!
Before you can collect speaker evaluations in SpreaView, you need to create a conference. All conferences are created within the context of an organization, which acts as the umbrella for your events.
Prerequisite: Select the Right Organization
Every conference belongs to an organization. If you’re part of multiple organizations, make sure you are working under the correct one.
- Use the cog wheel icon in the top-right corner of the screen to switch organizations.
- The current organization is always shown next to the cog wheel for reference.
You can only create a conference if you are assigned to at least one organization.
Creating a New Conference
Once you’re in the correct organization context, follow these steps to create a new conference:
- Go to the Conferences section in the sidebar.
- Click Create.
- Fill in the required details (see below).
- Click Save to create your conference.
When setting up a new conference, the following details are mandatory:
1. Event Name
The official name of your event or conference (e.g., Tech Summit 2025). This name will be visible in dashboards and reports.
2. Date Range
Select the start and end date of your conference.
- For a one-day event, simply select the same date twice.
- The date range determines when sessions can be scheduled.
3. Default Session Duration (in minutes)
This value is used when manually adding sessions later.
- The default value is 50 minutes.
- The end time of a session is automatically calculated by adding this duration to the session’s start time.
- Example: If the default is set to 45 minutes, a session starting at 10:00 will end at 10:45 by default.
4. Default Review Window Duration (in hours)
This defines how long each session can be reviewed after it starts.
- The default value is 4 hours.
- Example: If a session starts at 14:00 and the review window is set to 4 hours, attendees can submit evaluations until 18:00.
Conference Details Page
After creating a conference in SpreaView, you can access its details page to manage and fine-tune various settings. This page includes all the basic information you entered during creation, as well as advanced configuration options that help tailor the evaluation experience to your event.
Basic Properties
These are the core fields shown both during creation and on the details page:
- Event Name: The title of your conference or event.
- Date Range: Start and end dates of the event. For a one-day event, both dates are the same.
- Default Session Duration: Default session length (in minutes), used when adding sessions manually.
- Default Review Window Duration: Default time window (in minutes) during which a session can be reviewed after its scheduled start time.
Additional Properties
The Conference Details page reveals a number of additional fields that allow more customization and control over your event’s configuration.
Event Code
A unique identifier for your conference, automatically generated by SpreaView. This code is used internally and can also be referenced in integrations. This code is read-only and cannot be changed.
Event Description
An optional text field where you can provide more context or information about your event.
Conference Topics
Define a list of topics relevant to your event (e.g., AI, Web Development, Cloud). These can be assigned to sessions to help categorize them and analyze feedback across different themes.
Sessionize API ID
If you’re using Sessionize to manage your speaker and session data, you can link it here by providing the Sessionize API ID. This enables automated session import and syncing.
Swag Requirement Threshold
Specify the amount of sessions conference attendees must review to qualify for a prize draw *
Theme
Apply a visual theme to your conference’s evaluation forms and speaker pages to align them with your event branding.
*) To make the prize draw work, attendees must leave their name and review at lease the set amount of reviews. So setting up a prize draw with raising the threshold above 0 does not make sense if you don’t enable requesting an attendee name
Evaluation Options
These toggles control the behavior of the session evaluation forms and speaker feedback pages:
When enabled, a free-text comment field is added to the evaluation form, allowing attendees to leave qualitative feedback in addition to star ratings. When enabled, the free comment field is shown on review pages. The comment field will always be optional and cannot be configured to be mandatory.
Request Reviewer Name
Enable this to optionally ask attendees to provide their name when submitting a review. This can encourage accountability and personalized feedback, but remains optional for the reviewer. Reviewers will be progressively asked for their name once. When ignored, reviewers will not be bothered again, instead they can enter or change their name manually.
Show Session Ranking on Speaker Review Page
This setting controls whether a speaker can see how their session ranks compared to others at the conference. If enabled, the speaker report will display relative performance metrics.
Editing and Saving Changes
To edit any of the conference details:
- Navigate to your organization’s Conferences section.
- Select the desired conference.
- Update any fields or toggle settings as needed.
- Click Save to apply your changes.
4 - Conference Content
Adding a meaning to your conferences
Managing Conference Content in SpreaView
The Conference Content section in SpreaView enables organizers to manage the essential elements of a conference, including speakers, tracks, and presentations. This functionality provides flexibility while ensuring data consistency.
Tip read on to the end of the page and learn how to synchronize your conference content with Sessionize.
Managing Speakers
Organizers can add and edit speakers for the conference.
Key Points:
- Adding Speakers: New speakers can be added to the conference through this section.
- Editing Speakers: Speaker details can be updated as necessary.
- Restrictions:
- Speakers who are assigned to one or more presentations cannot be deleted. This ensures the integrity of presentation data.
Managing Tracks
Tracks represent the divisions or categories of sessions within a conference.
Key Points:
- Adding Tracks: Organizers can create new tracks to categorize sessions.
- Editing Tracks: Existing tracks can be updated.
- Deleting Tracks:
- Tracks can only be deleted if no presentations are assigned to them.
Managing Presentations

Presentations are the core components of a conference, linking speakers and tracks to the conference schedule.
Key Points:
- Adding Presentations: Organizers can create new presentations by assigning:
- A title.
- One or more speaker(s).
- A track.
- Start time and duration.
- Editing Presentations: Details of existing presentations can be modified.
Synchronizing content with Sessionize
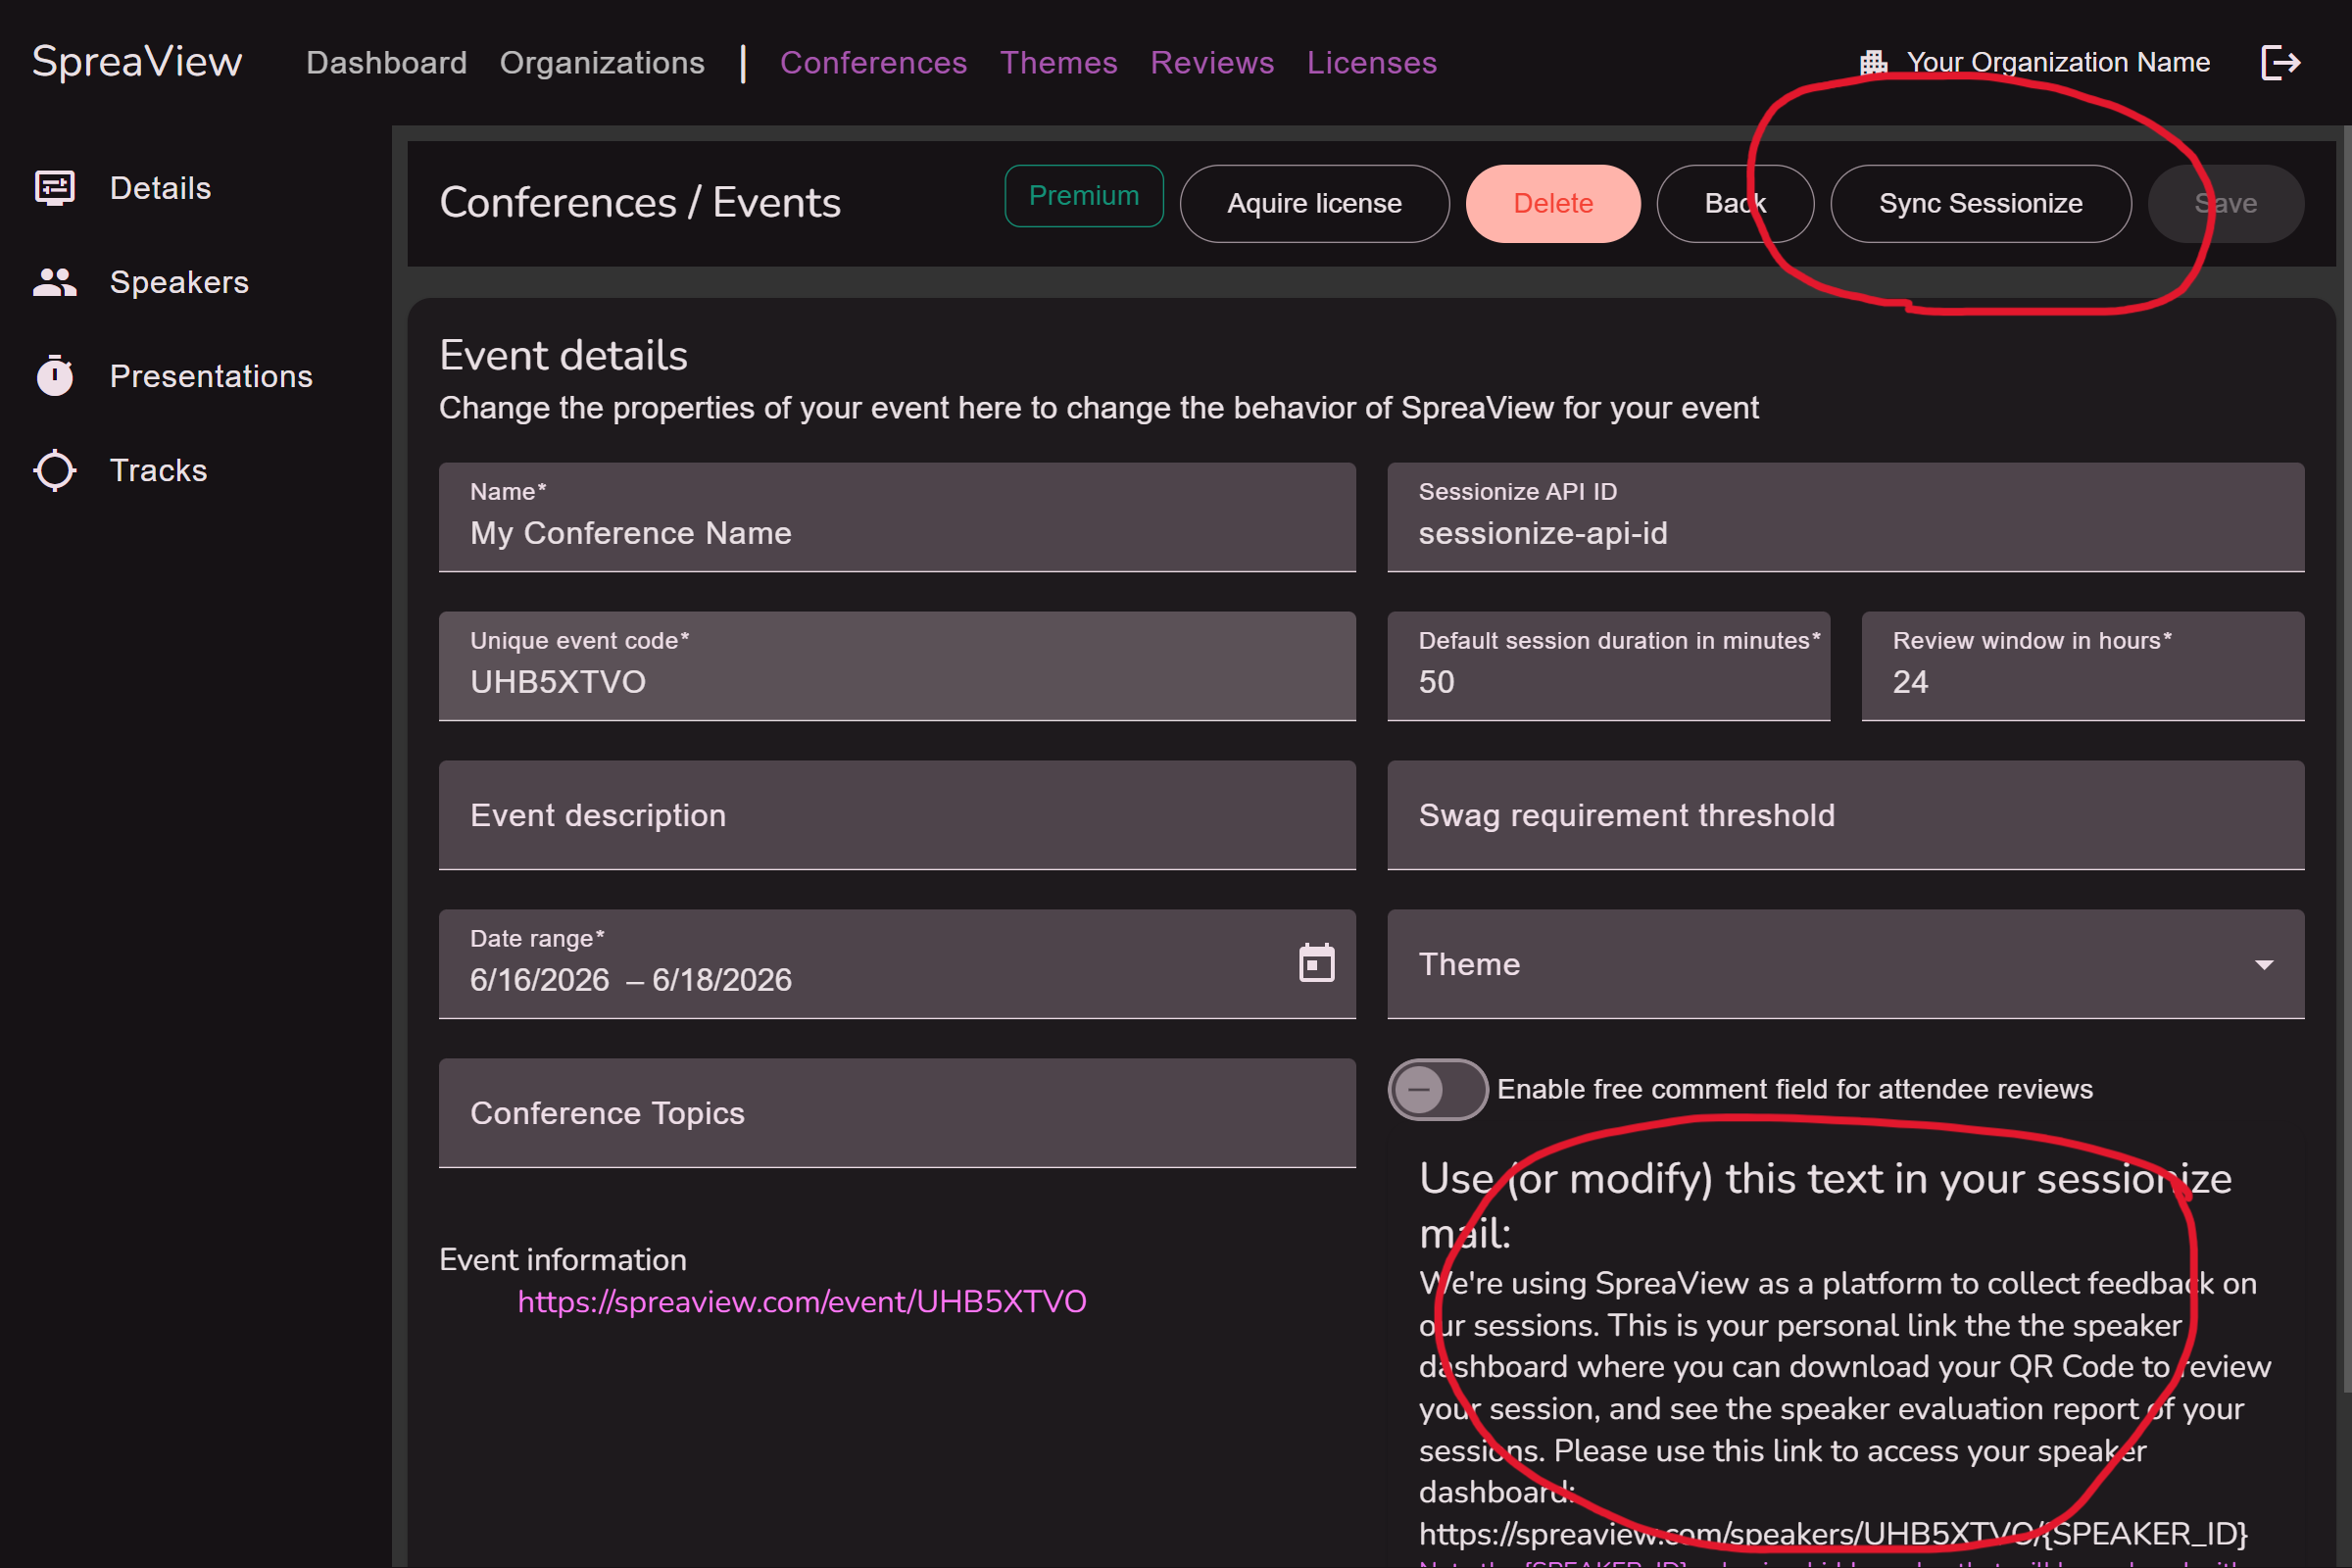
Sessionize is a platform that allows conference organizers to select speakers and set up a schedule for their conference. SpreaView seamlessly integrates with Sessionize and allows you to synchonize your SpreaView conference data with Sessionize. It is important to understand that when setting up this synchronization, Sessionize is leading and SpreaView only downloads information from Sessionize. On this page you can learn how to set up Sessionize to allow the synchronization. This leaves you with a Session API Id. Enter this ID on the details page of your SpreaView conference to enable the Syncronize button. Click this button to synchronize the session data with Sessionize’s data.
When importing data from Sessionize, the default presentation time is not respected. The full date and time schedule as imported from Sessionize is used instead.
Note that when the Sessionize API Id is populated, also a short email template will be shown at the bottom of the screen. The email template text can be used when you communicate with your speakers from Sessionize. By default, SpreaView does not keep speaker email addresses so SpreaView cannot send emails to your speakers. Sessionize can, and by using the adjustable template as shown, you create a seamless experience for your speakers.
Summary
The Conference Content section is a vital tool for organizing and structuring conferences in SpreaView. By allowing organizers to manage speakers, tracks, and presentations effectively, SpreaView ensures that conferences are flexible yet maintain consistent and accurate data. Note the restrictions in place to avoid accidental data loss or conflicts when managing these components.
5 - Theming
Make sure you pick the appropriate plan ;)
Managing Themes in SpreaView
Theming in SpreaView allows organizers to customize the look of review pages for attendees in a restricted yet effective way. Themes enhance the attendee experience by ensuring a visually cohesive design that aligns with the conference’s branding.
Theming Features
Organizers can use theming to:
- Change the Title Bar Color: Adjust the color of the title bar for the review pages.
- Customize Title Bar Text Color: Select a text color that complements the title bar.
- Add a Conference Logo: Upload a logo to personalize the review pages.
Creating and Managing Themes
Themes are independent entities in SpreaView, meaning they can be created once and reused across multiple conferences.
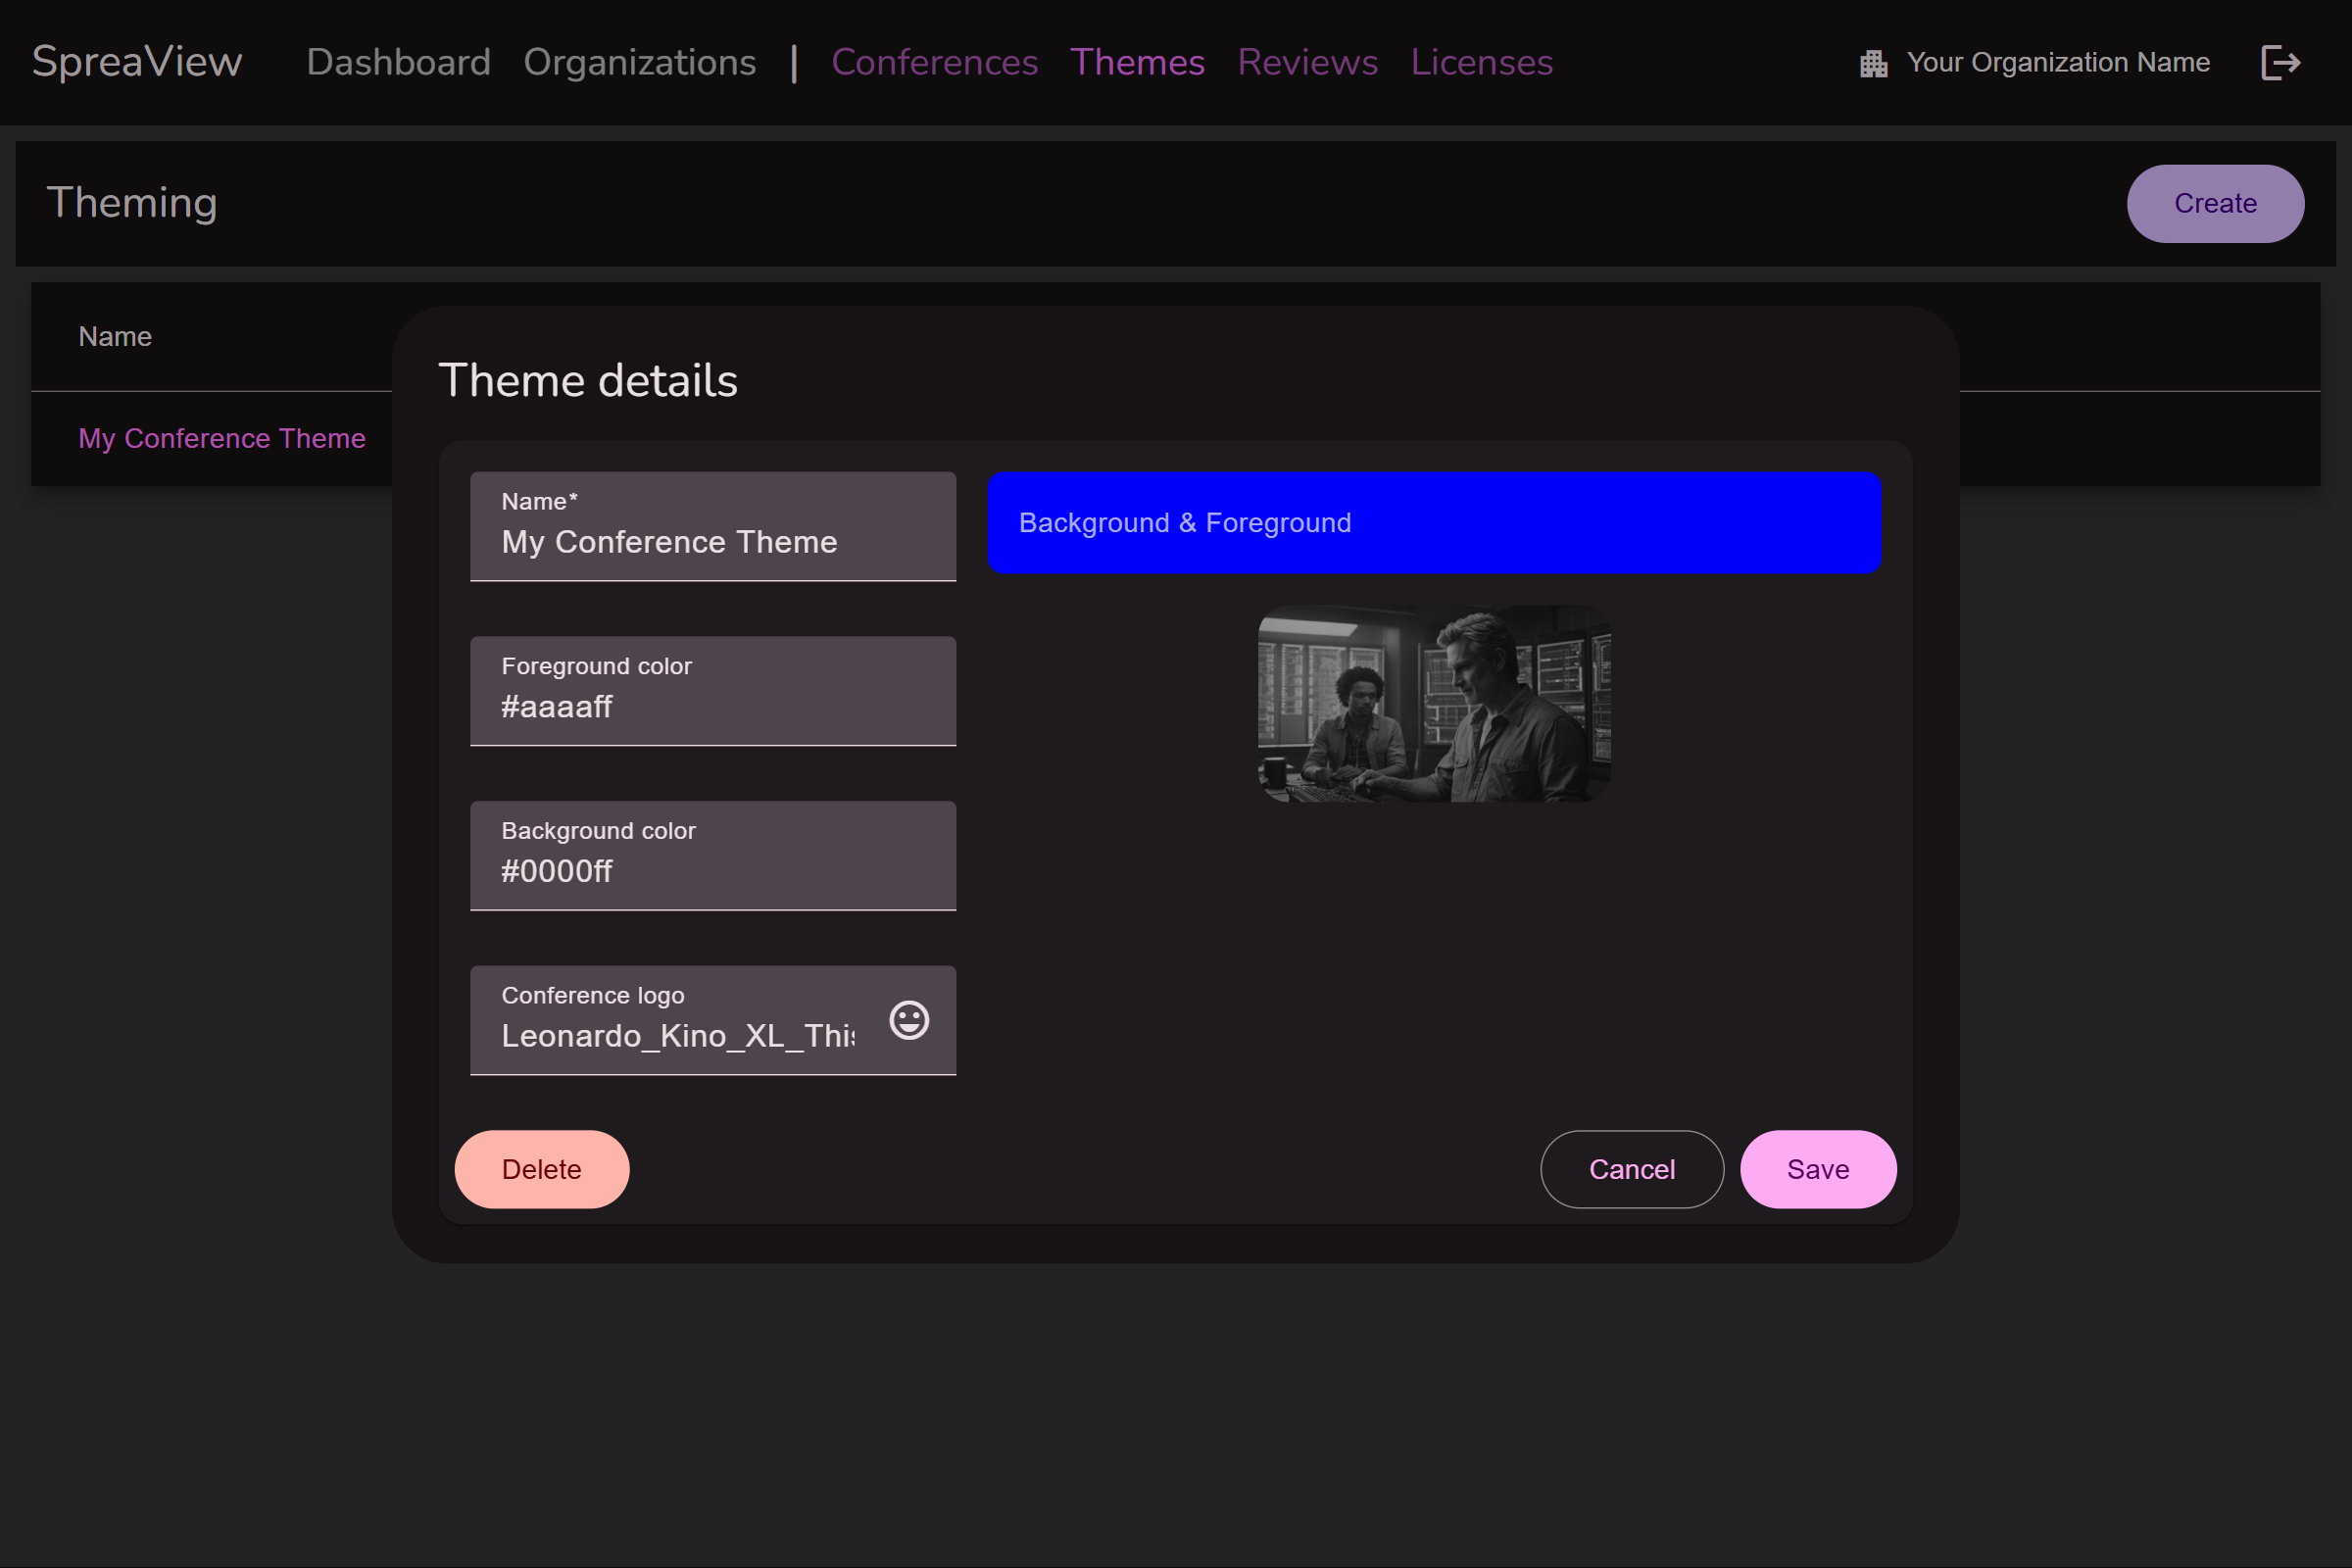
Creating a Theme
- Navigate to the Themes section in SpreaView.
- Define the desired:
- Title bar color.
- Title bar text color.
- Conference logo (optional).
- Save the theme for future use.
Assigning a Theme to a Conference
- On the Details Page of a conference, organizers can select one of the predefined themes to apply to the review pages.
- Themes can be assigned regardless of the conference’s license plan.
License Considerations
While themes can be created and assigned freely, they will only be visible on the review pages if the conference has an appropriate license.
Benefits of Reusable Themes
- Efficiency: Create a theme once and apply it to multiple conferences.
- Consistency: Maintain a uniform look across events organized under the same brand.
Summary
Theming in SpreaView is a powerful tool for branding and attendee engagement. It offers flexibility to create visually appealing review pages while ensuring themes are reusable and accessible across different conferences. Regardless of the license plan, organizers can manage themes freely, making SpreaView a versatile platform for event customization.
6 - Speakers
Provide valuable feedback for your speakers
SpreaView provides a centralized system for managing speaker registrations and data. This allows speakers to access their personal information and conference-related details beyond the boundaries of a single organization. Speakers involved in multiple conferences can view and manage all their data from a single Speaker Dashboard.
Speaker Registration
Speakers must register in SpreaView to access their dashboard and related information. Registration ensures a seamless experience for speakers across various conferences.
Inviting Speakers
You can invite speakers to SpreaView through two methods:
Manual Invitation:
- Add the speaker’s details manually within SpreaView and send an invitation.
External System Integration:
- Use an external system like Sessionize to send automated invitations to speakers.
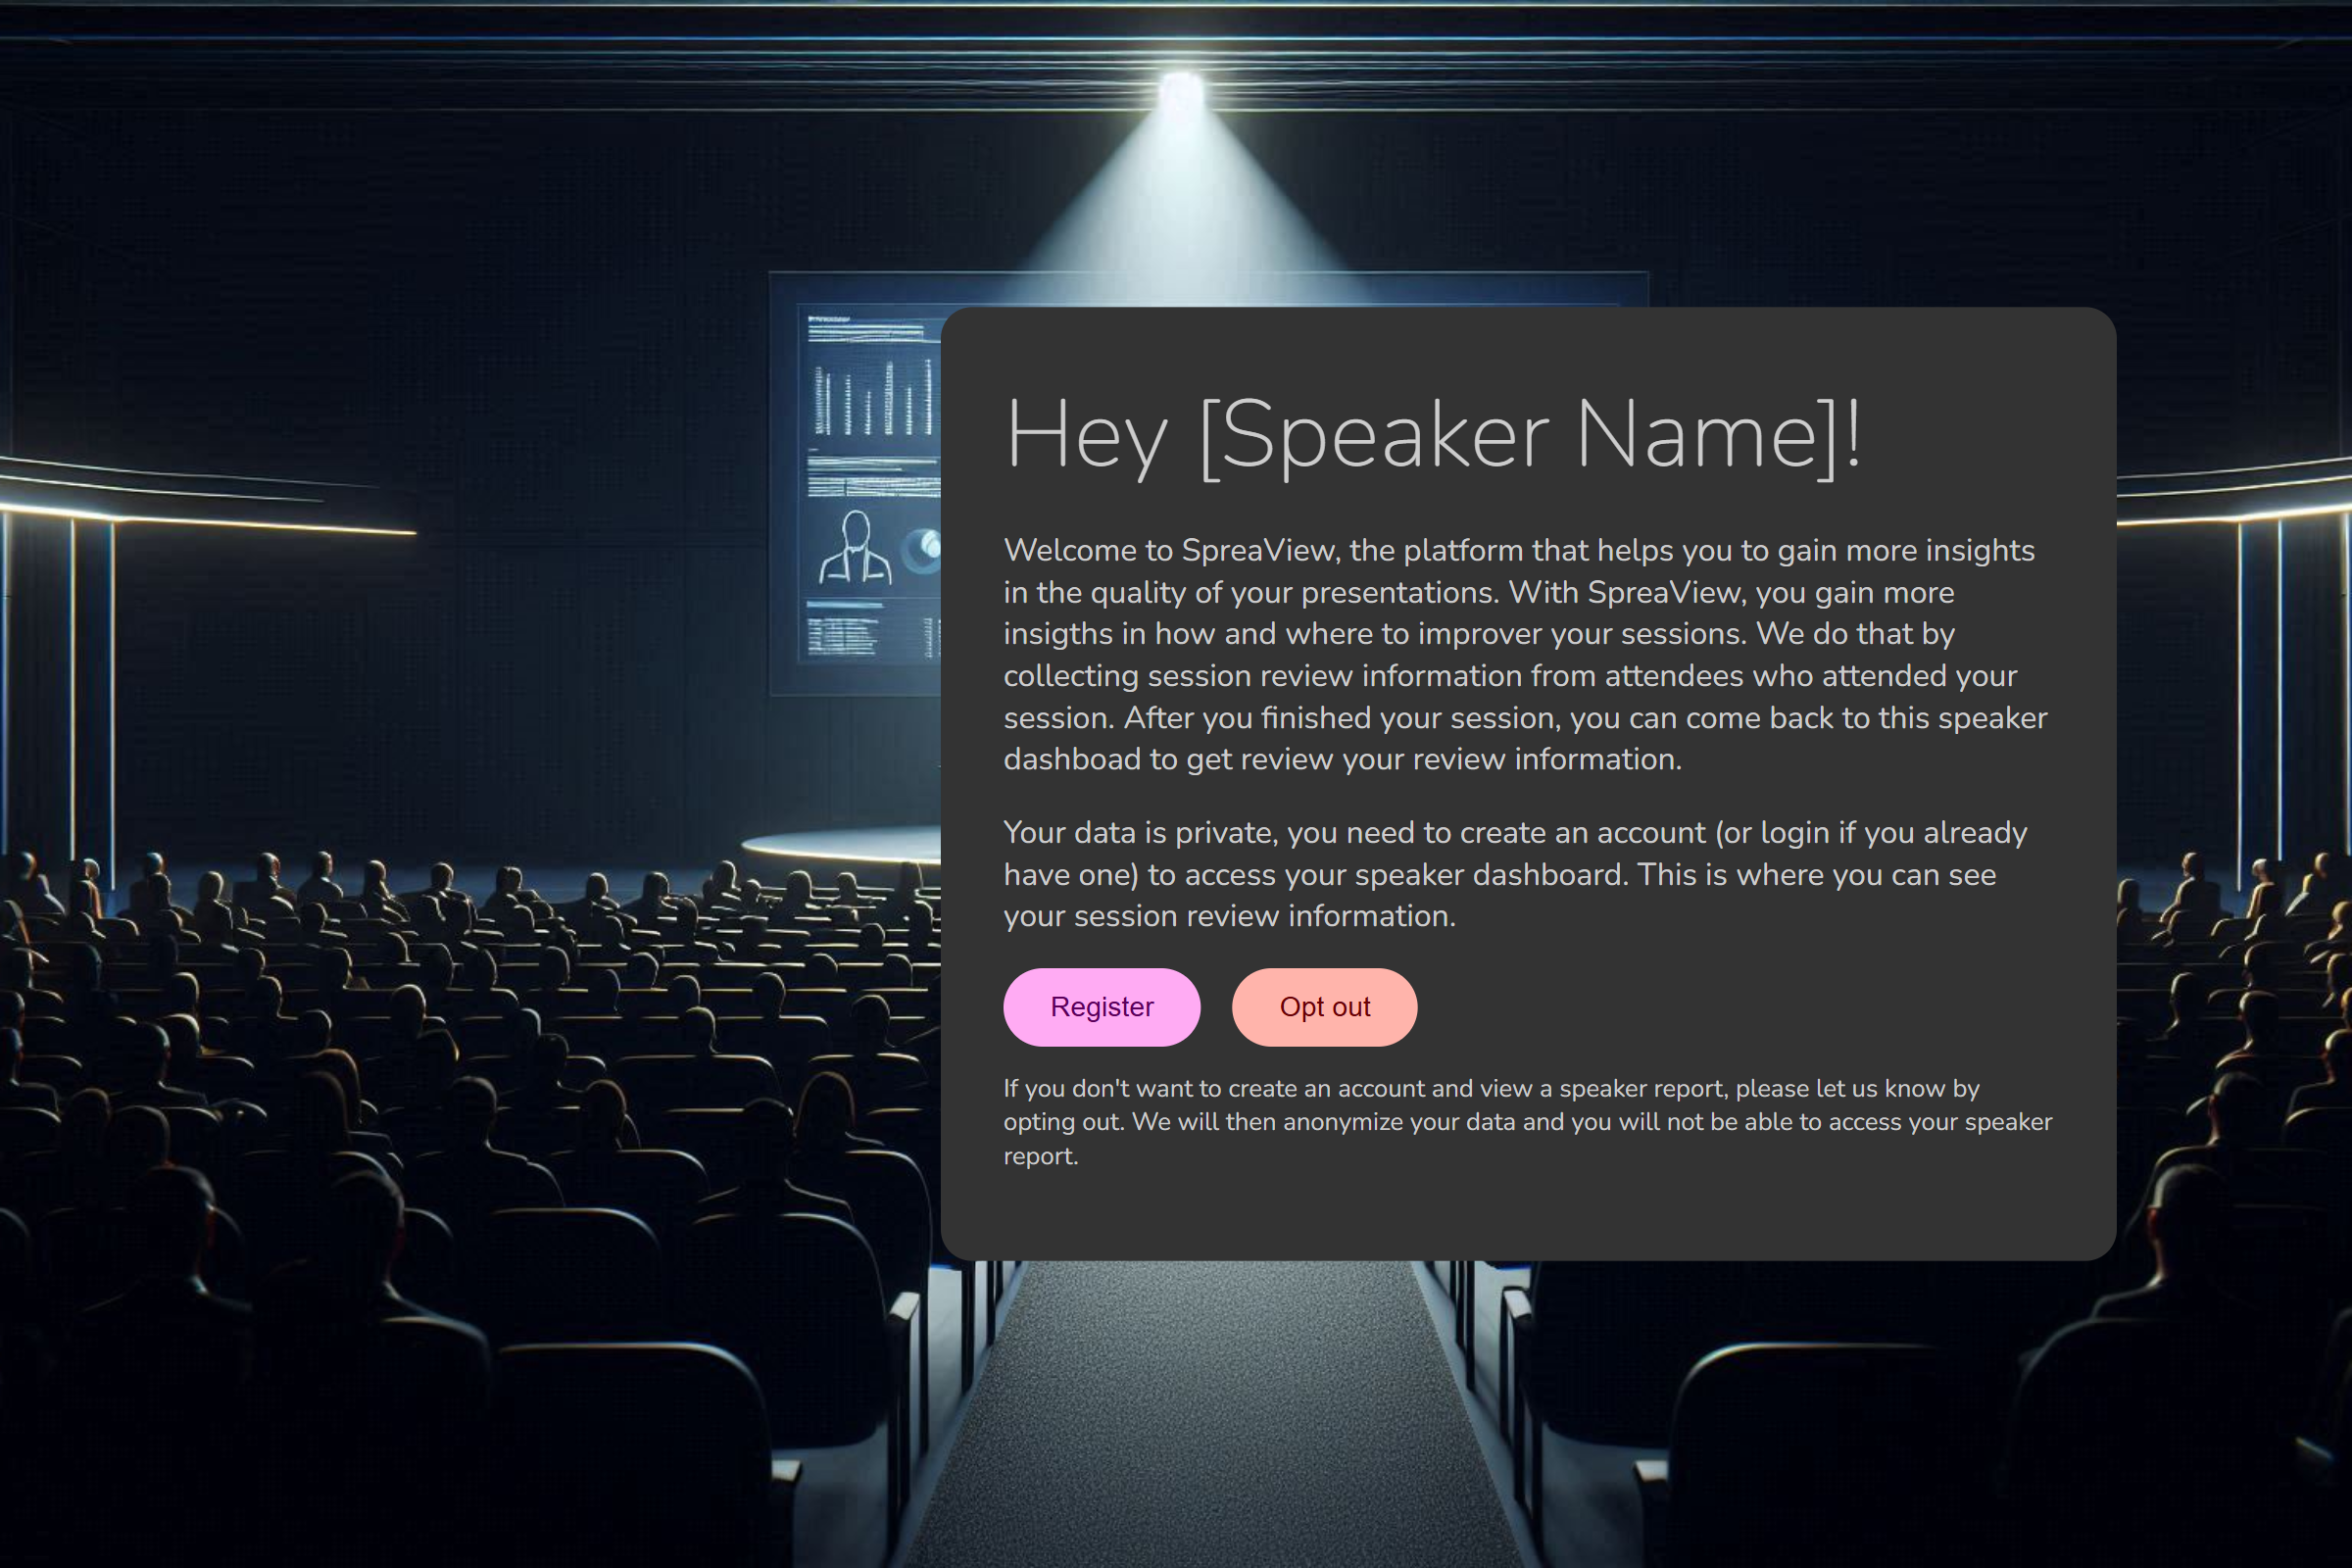
When a speaker receives an invitation, they are directed to a dedicated invitation page where they can:
- Register or Log in to SpreaView.
- Opt-out of SpreaView. Opting out will anonymize their data and revoke access to the Speaker Dashboard.
Speaker Dashboard
The Speaker Dashboard is the central hub for speakers, providing access to their conference participation data. It consists of two main sections:
Future Conferences
- Displays a comprehensive list of upcoming conferences where the speaker is scheduled to present.
- Each entry includes:
- The presentation title.
- Start time.
- Track information.
- Speakers can download a unique QR code for each presentation from this section. This QR code allows attendees to submit reviews for the presentation.
Past Presentations
- Lists all presentations that the speaker has already delivered.
- Each entry provides:
- A brief summary of review information for the session.
- A link to access the Presentation Report.
Presentation Report
The Presentation Report offers detailed insights into a session’s reviews, including:
- Comprehensive attendee feedback.
- Comparisons with other speakers at the same conference.
- Comments left by attendees.
Summary
SpreaView’s centralized approach to speaker management ensures that speakers have full visibility of their data and insights across multiple conferences. By registering in SpreaView, speakers can:
- Access their schedules for future conferences.
- Download QR codes for collecting reviews.
- Analyze feedback and performance metrics for past presentations.
For additional assistance with managing speakers or integrating external systems like Sessionize, please contact our support team at support@spreaview.com.